AP - Pay Bills via Check
This guide provides detailed instructions on how to use Xero to pay bills using a check. Before proceeding, ensure that:
- The bill has been logged and approved in Xero
- Payment has been authorized
- You have access to Xero
- You have access to a check printer
- You have company-approved check stock
- You have obtained approval from a partner to issue payment
Procedure
-
Navigate to the Xero dashboard: https://xero.com
-
Log in using your company credentials.
-
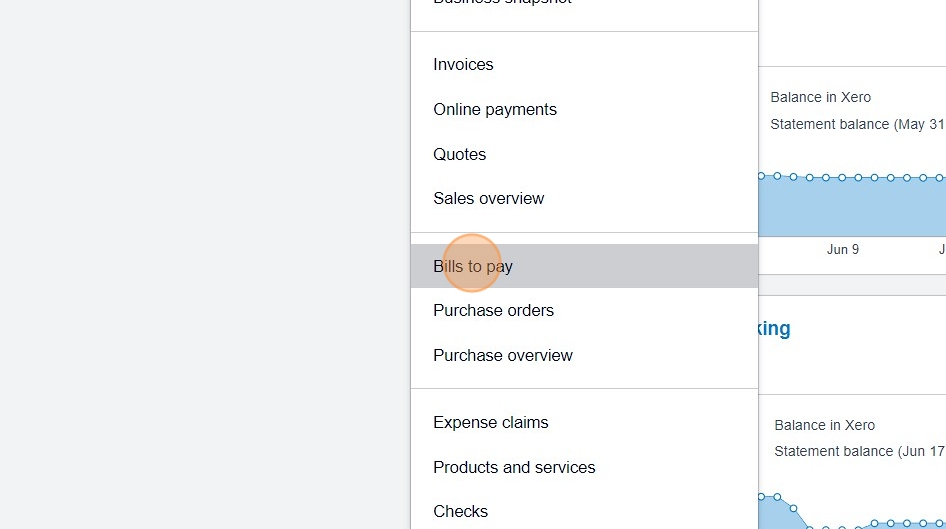
Click "Business" in the main menu.

- Select "Bills to pay" from the dropdown menu.
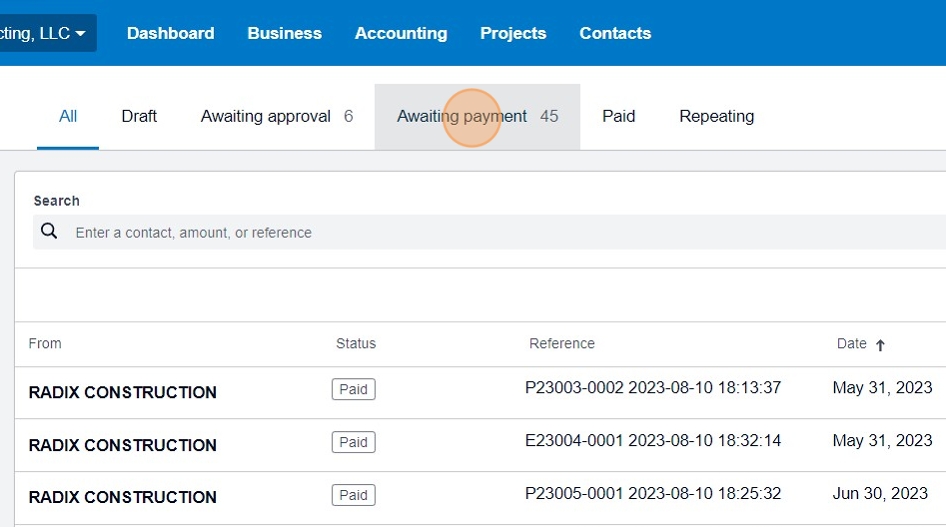
- Click on "Awaiting payment" to view bills ready for payment.
-
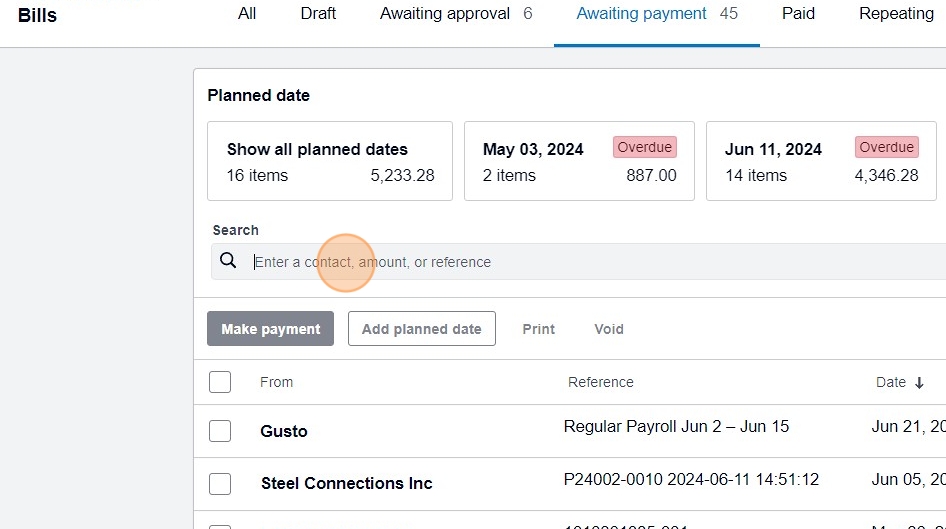
In the search box, type the name of the service provider or supplier to locate the corresponding bill. For example, enter "L&W" and press Enter.
-
Click the "Search" field to initiate the search.
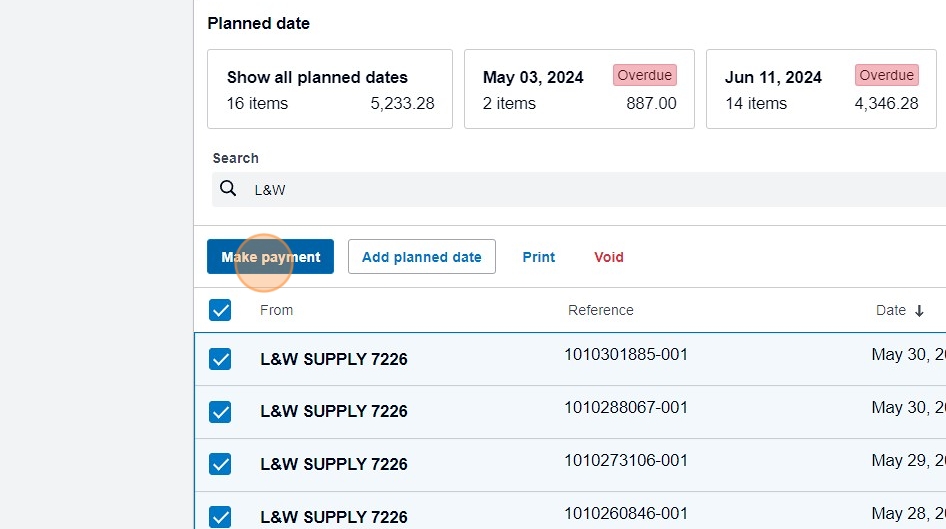
- Select the bill(s) you want to pay. To pay all bills from the provider, click the "Select all rows" field.

!!! warning "Important" The check stub has limited space and can only display transaction data for about five bills. If you need to pay more than 5 bills, it's recommended to issue multiple checks to ensure accurate transaction information is displayed to the recipient.
- Click "Make payment" to proceed.
-
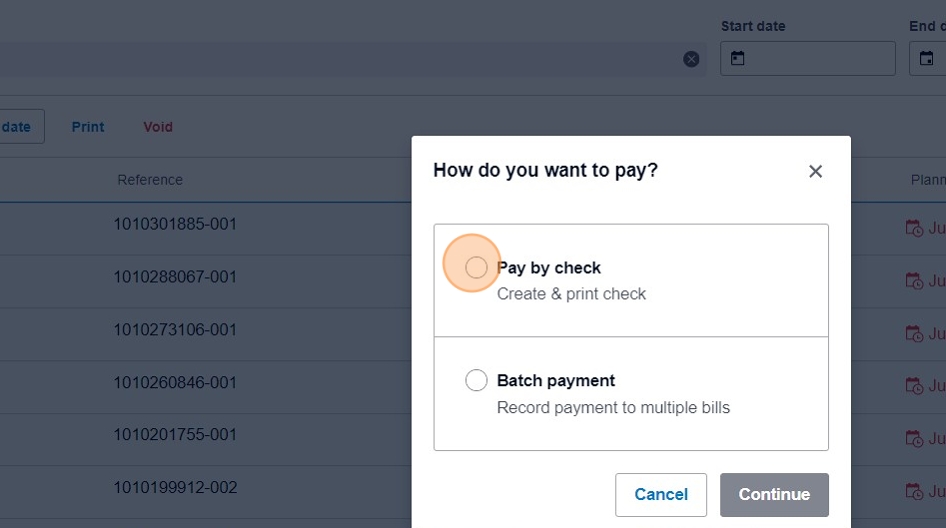
Select "Pay by check" and then "Create & print check".
-
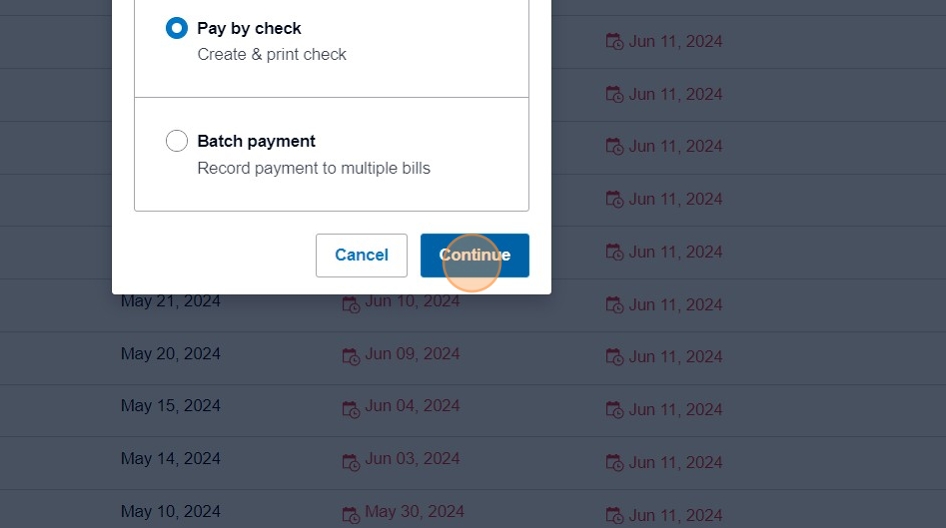
Click "Continue" to generate the check in the system.
-
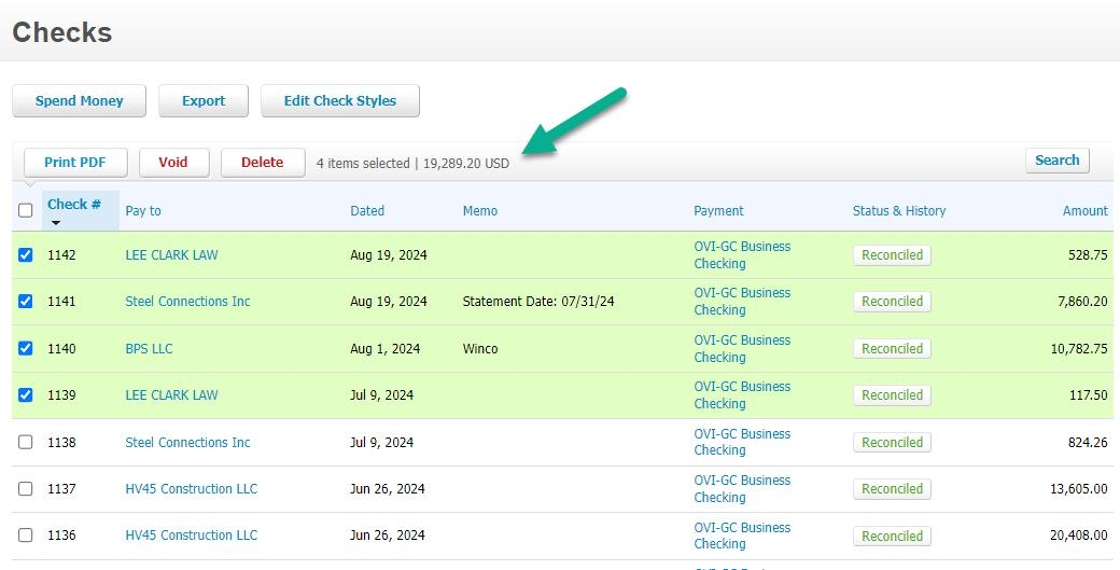
To view the generated check, go to Business > Checks.
Tip
By default, checks may be sorted from oldest to newest. To see the newest checks at the top, click on the "Check #" category header to reverse the sort order.
-
Select all checks that need to be printed. Verify that the total value of the checks matches the approved AP dollar value before proceeding.
-
Click the "Print PDF" button to download a PDF of all selected checks.
-
Print the PDF using an approved check printer on the official company check stock.
Check Signatures and Activation
After printing the check:
-
Contact a partner for check signature.
-
Ensure the check is activated in the financial system: - A partner must import the check into the company fraud detection tool and approve it. - Do not mail or release a check until it has been cleared in the fraud detection system by a partner.
Critical
Checks are not active in the financial system until approved in the fraud detection tool. Releasing an unapproved check will result in the check not clearing.