DL Evans Bank Statement Export Process
This guide walks you through the process of exporting monthly checking account statements from DL Evans banking portal. Follow these steps to retrieve statement PDFs for accounting and record-keeping purposes.
Prerequisites
Requirements
Before beginning this process, ensure you have:
- Active login credentials for DL Evans online banking
- Access to the OVI GC checking account
- The specific month/date range for which you need to export statements
Step-by-Step Procedure
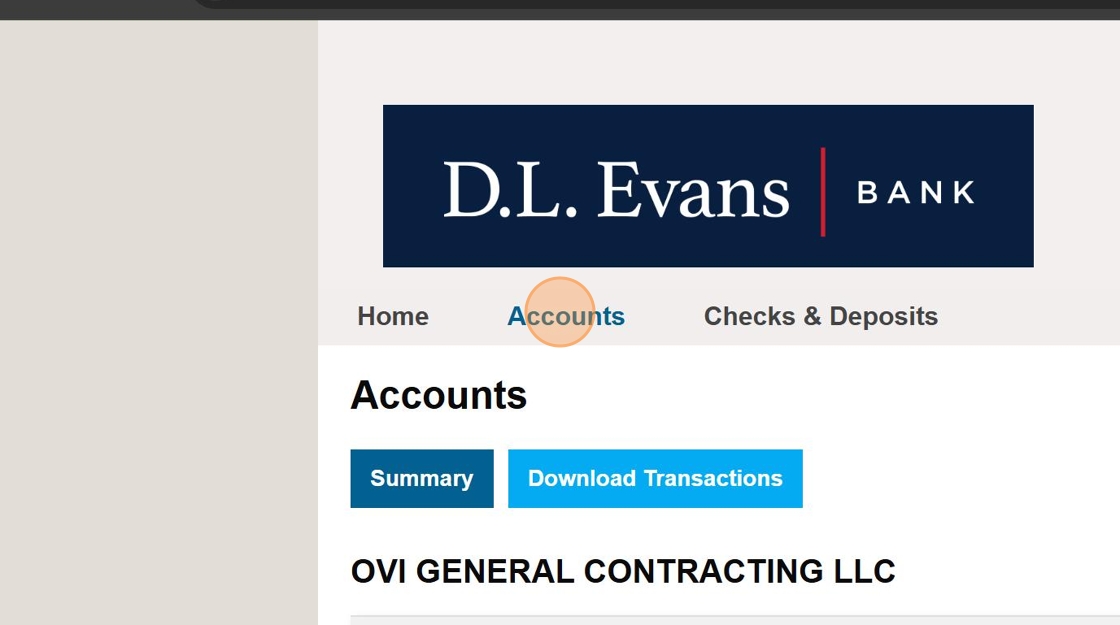
1. Access Account Dashboard
Navigate to the accounts overview page to begin.
Login to DL Evans online banking portal and click the "Accounts" button in the main navigation menu.
2. Select the OVI GC Account
Access the specific checking account for which you need statements.
From the accounts list, locate and click on "OVI GC CHECKING" to access the account details page.

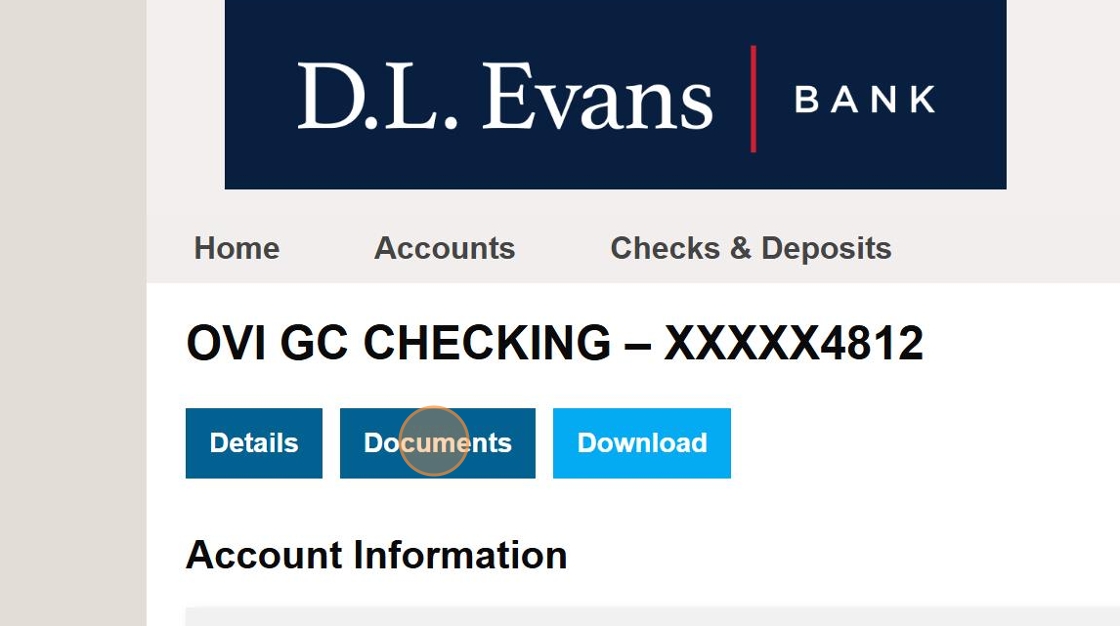
3. Navigate to Documents Section
Access the documents area where statements are stored.
On the account details page, click the "Documents" tab to view available statements and reports.
4. Select Report Type
Choose the appropriate document type from the dropdown menu.
Click the dropdown selector to view available report types.

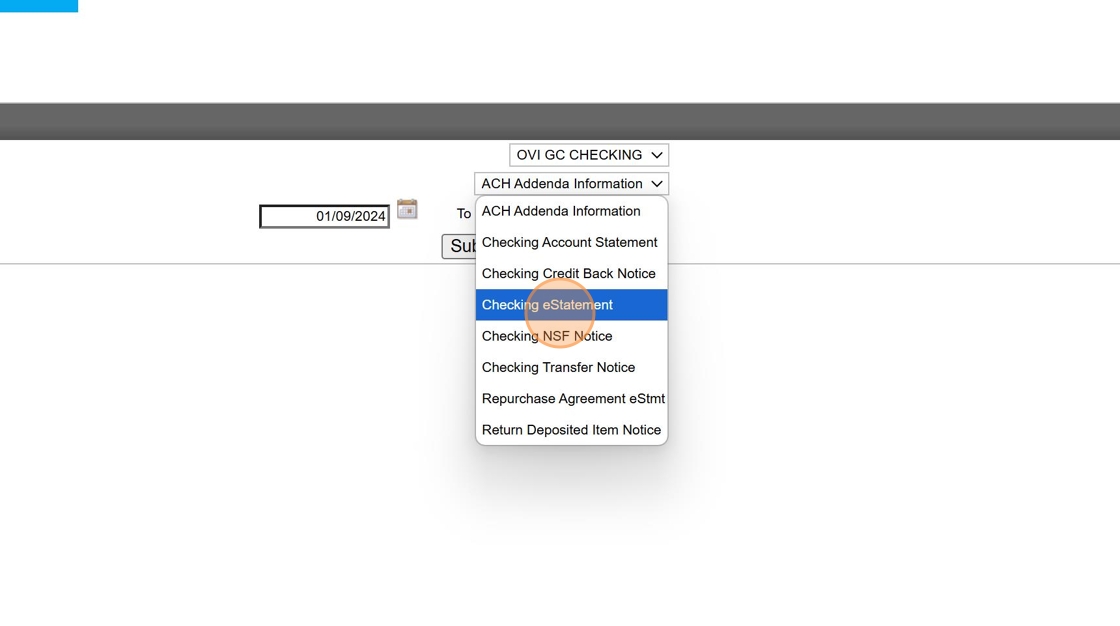
5. Choose Checking eStatement
Select the specific statement type needed for this account.
From the dropdown options, click "Checking eStatement" to access monthly account statements.
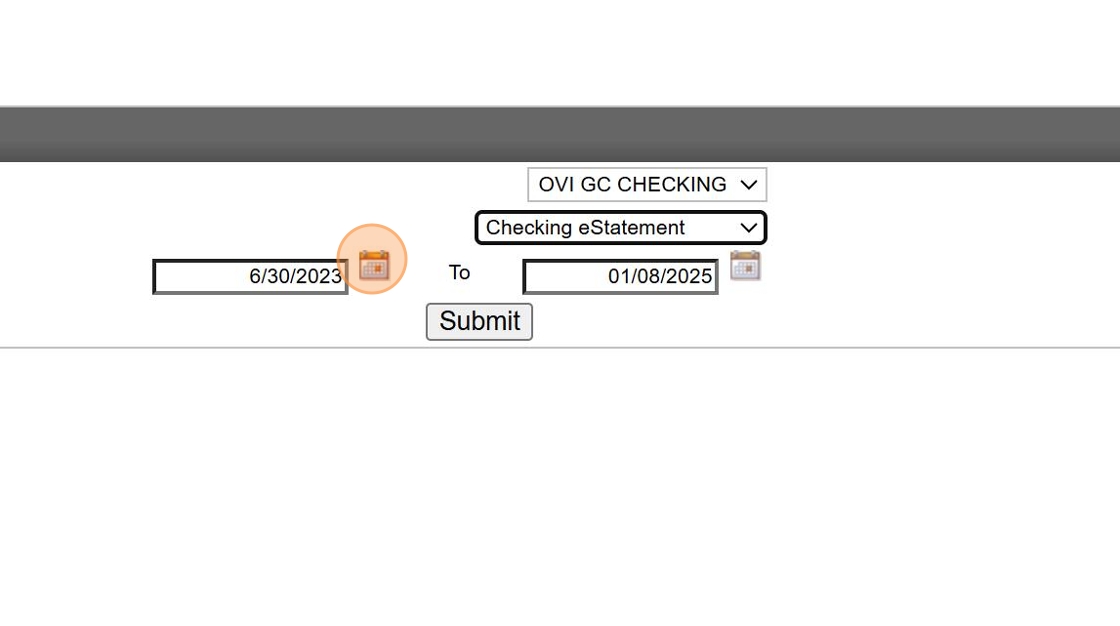
6. Set Start Date
Define the beginning of your statement period.
Click the "Select a date" field and enter the first day of the month for which you need the statement (typically the 1st).
Date Format
Enter the date in MM/DD/YYYY format or use the calendar picker to select the appropriate date.
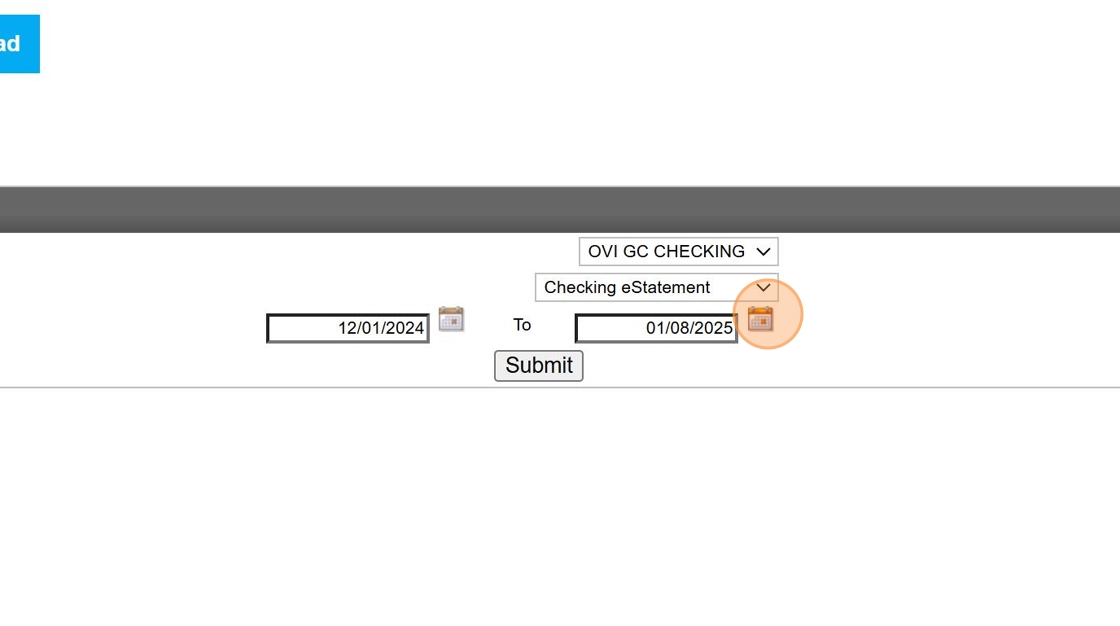
7. Set End Date
Define the end of your statement period.
Click the second "Select a date" field and enter the last day of the month for which you need the statement (28th, 30th, or 31st depending on the month).
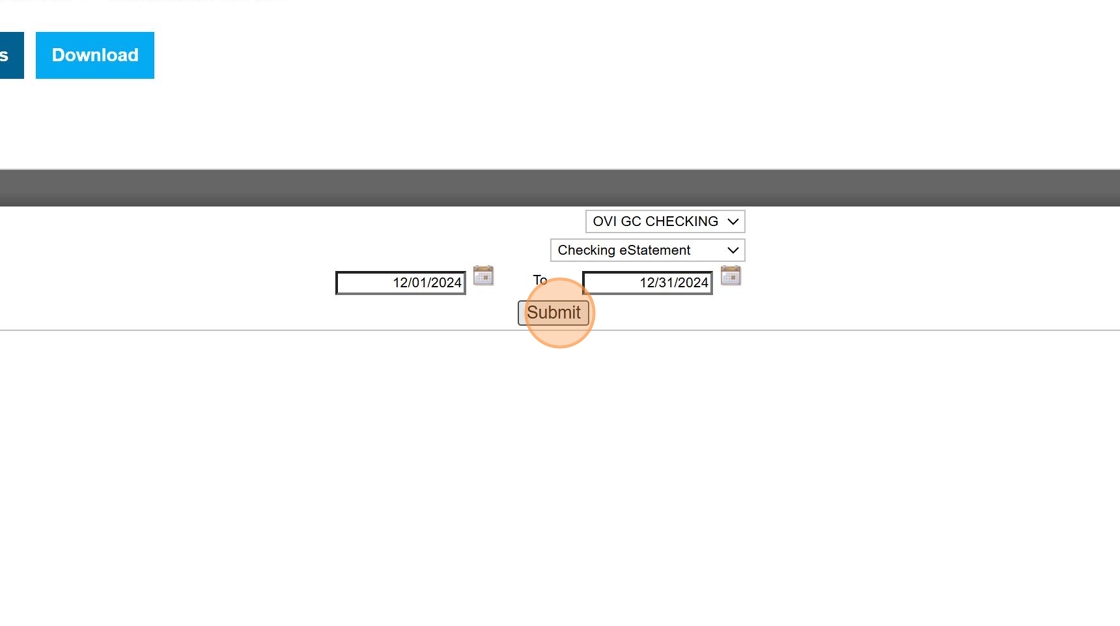
8. Submit Request
Initiate the statement generation process.
After selecting both dates, click the "Submit" button to generate your statement.
Processing Time
The system may take a few moments to generate your statement. Be patient and wait for the results to appear.
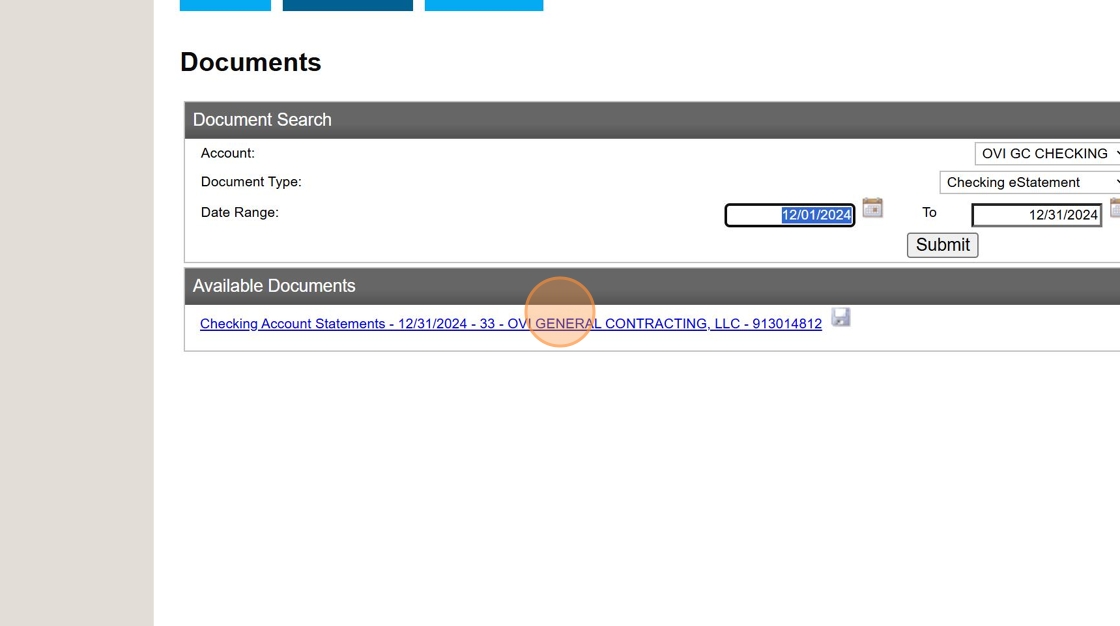
9. Open Generated Report
View the statement before downloading.
Once the statement is generated, click on the report link to open it in the browser viewer.
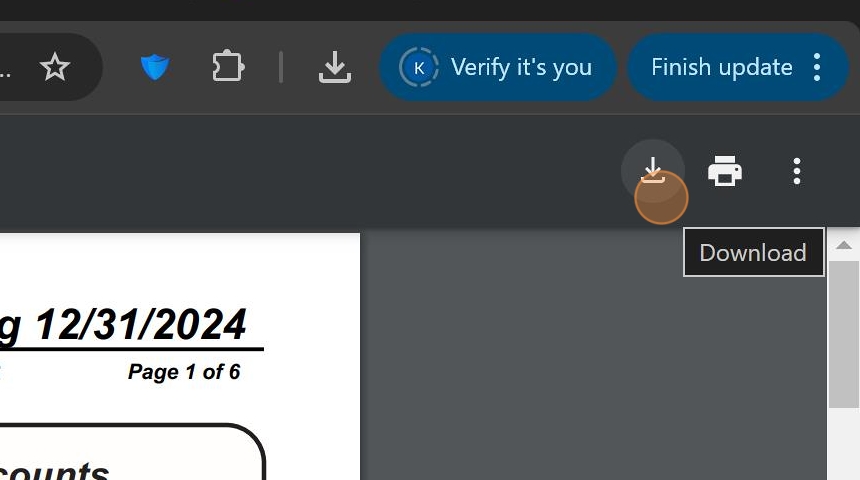
10. Download Statement
Save the statement to your local system.
In the statement viewer, click the download button (typically in the upper right corner) to save the PDF to your computer.
Statement Filing Process
File Naming Convention
Save the downloaded statement with the following naming format:
YYYY-MM-BankName-StatementType
Example: 2024-06-DLEvans-Checking.pdf
- Save to your Downloads folder
- Move to the appropriate financial records directory
- Ensure file permissions are set correctly
- Save to your Downloads folder
- Move to the appropriate financial records directory
- Verify file ownership is correct
Checklist
Use this checklist to ensure you've completed the full statement export process:
- Logged into DL Evans banking portal
- Navigated to OVI GC checking account
- Accessed Documents section
- Selected Checking eStatement as report type
- Set correct start date (1st of month)
- Set correct end date (last day of month)
- Generated report by clicking Submit
- Opened the generated report
- Downloaded PDF statement
- Saved with proper naming convention
- Filed in appropriate financial records location
Related Resources
Original guide created by Kelsey Cannon