BuilderTrend PEX Reconciliation
Introduction
This procedure guides you through the process of adding PEX card expenses as a bill in BuilderTrend. This is part of the monthly reconciliation process to ensure all PEX expenses are properly tracked and associated with the correct project and cost codes.
Process Overview
PEX card expenses need to be recorded in BuilderTrend with appropriate cost codes. This ensures accurate project costing and financial reporting.
Required Artifacts
Before starting this process, ensure you have:
- Access to BuilderTrend
- The PEX expense Excel spreadsheet for the relevant period
- The Xero PDF file of the expenses
Procedure
Accessing the Bill Entry Interface
- Navigate to the Project
Select the applicable project from your BuilderTrend dashboard.

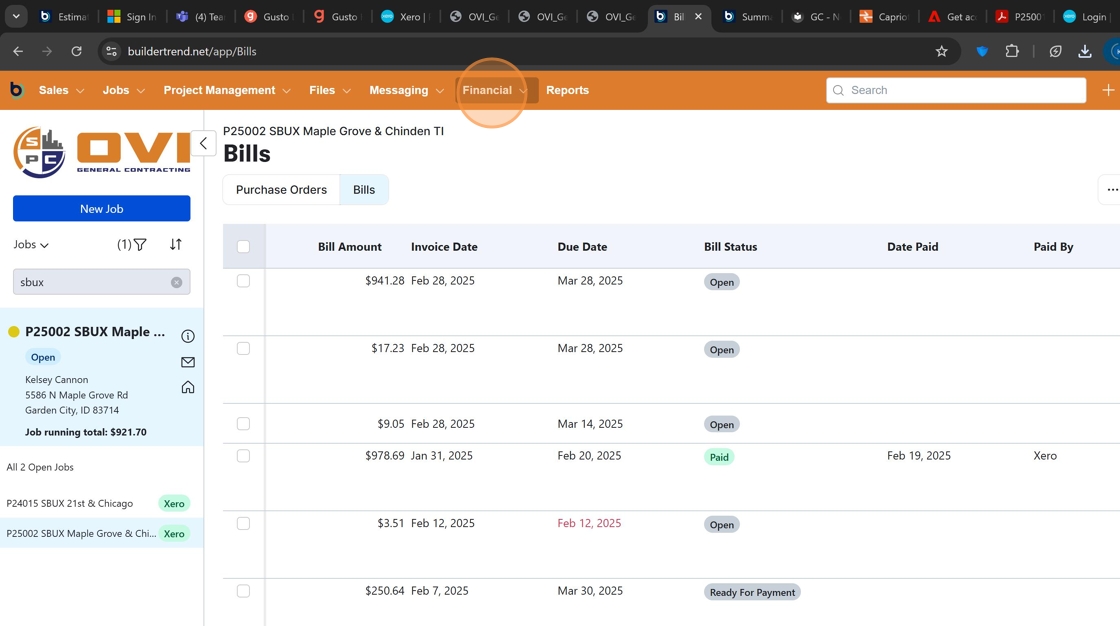
- Access Financial Section
Click the "Financial" tab in the main navigation menu.
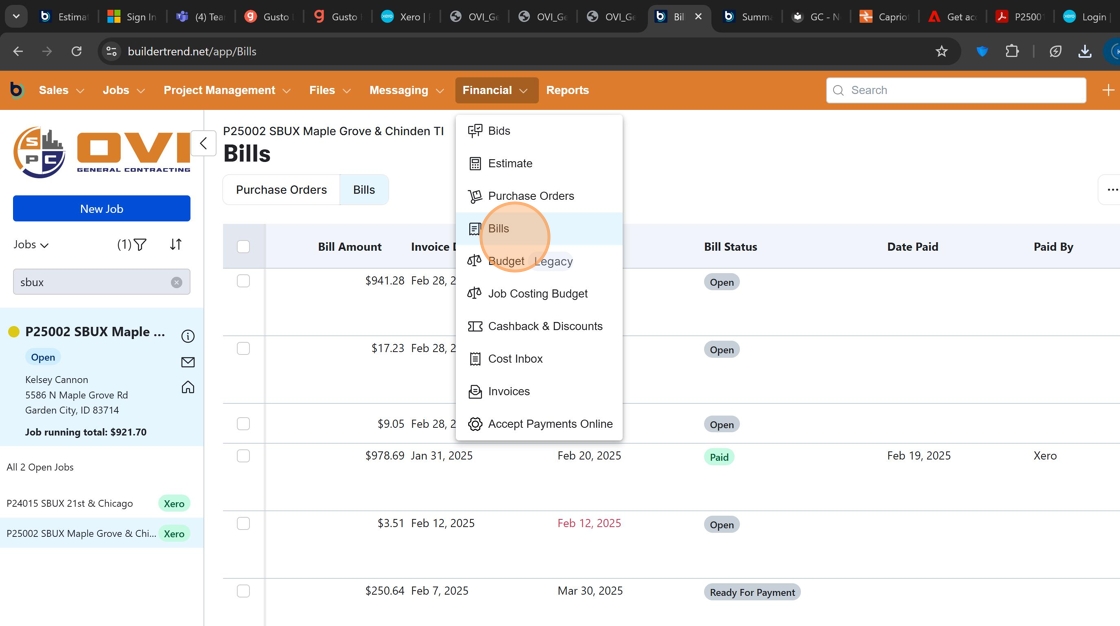
- Open Bills Section
Click "Bills" in the submenu to access the bills interface.
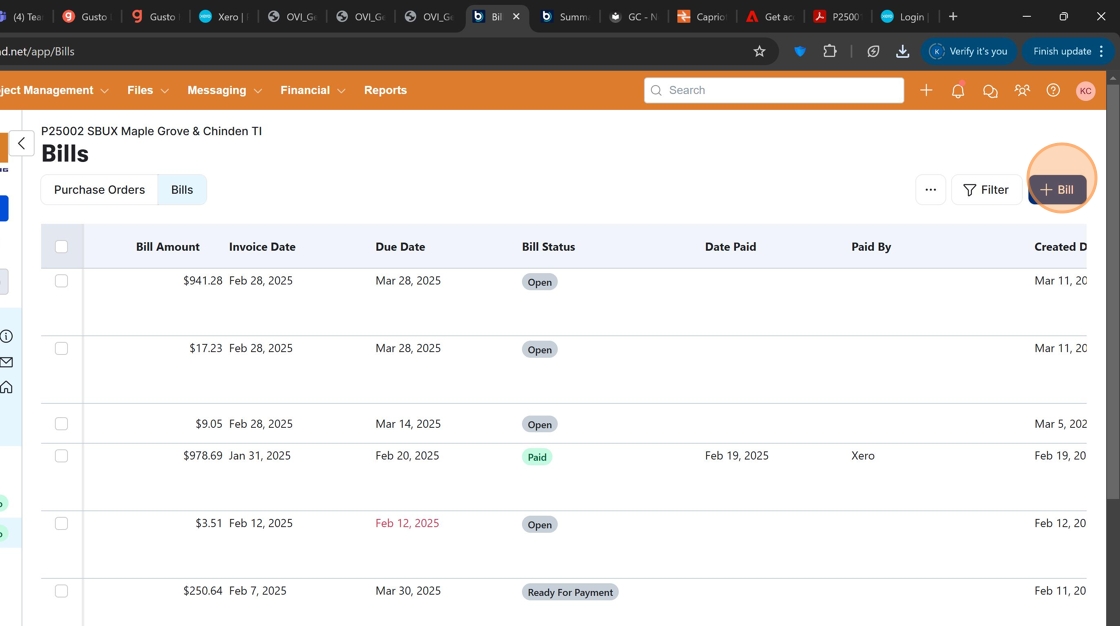
- Create New Bill
Click the "+ Bill" button to create a new bill entry.
Entering Bill Information
Format Consistency
Following standard naming conventions and formats ensures bills can be easily identified and tracked.
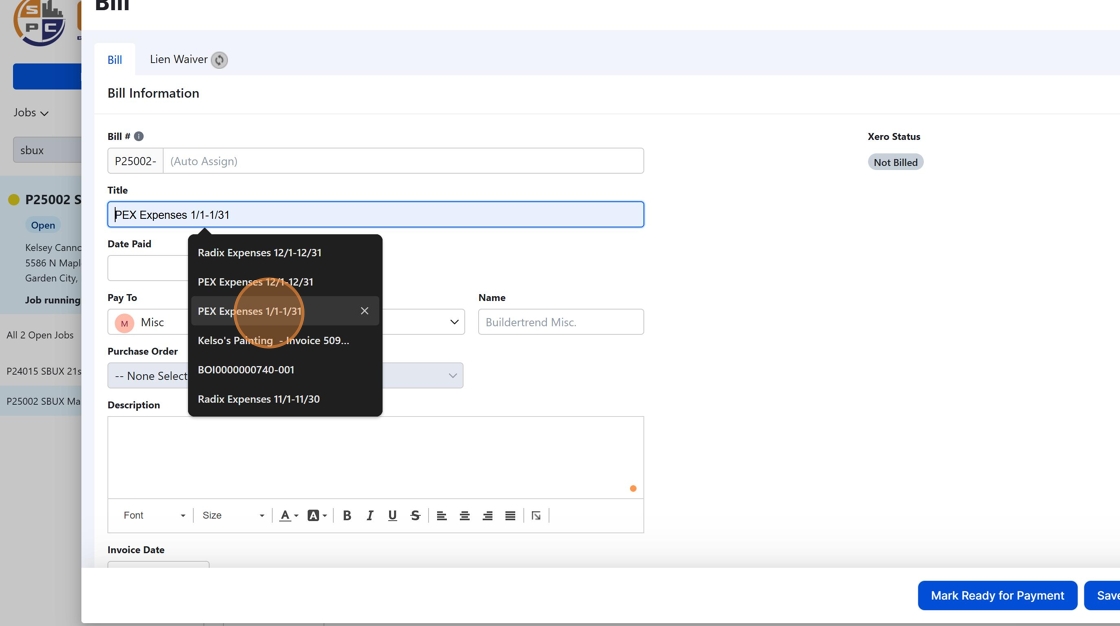
- Enter Invoice Title
Click the invoice title field to add a descriptive title.
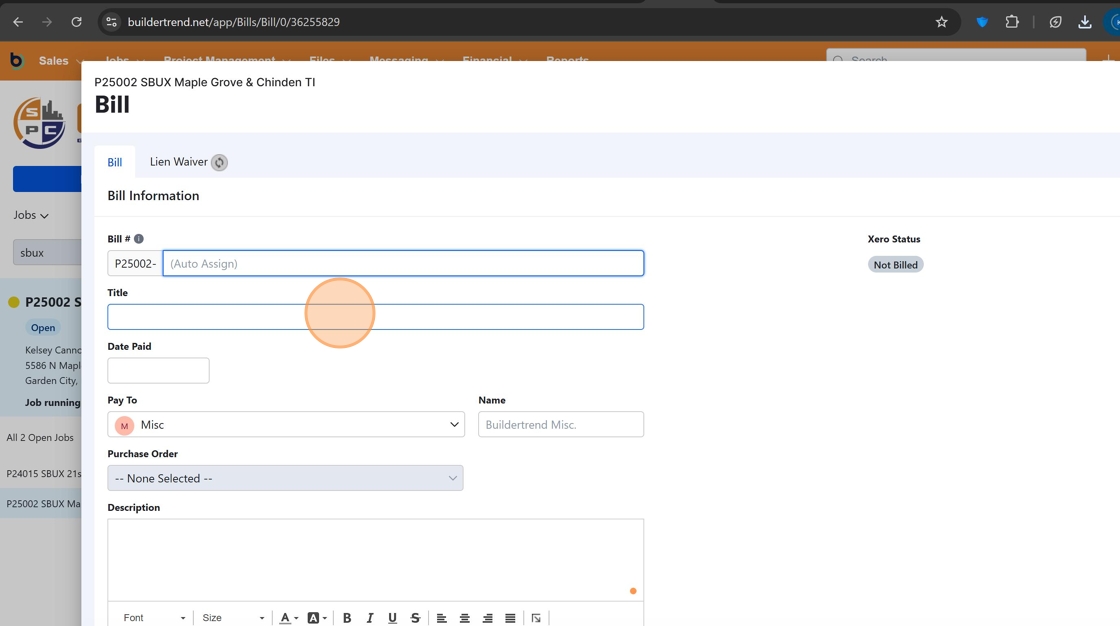
- Use Standard Title Format
All PEX expenses should use the format: PEX Expenses - Month/Day-Month/Day
Example: PEX Expenses - 03/01-03/31
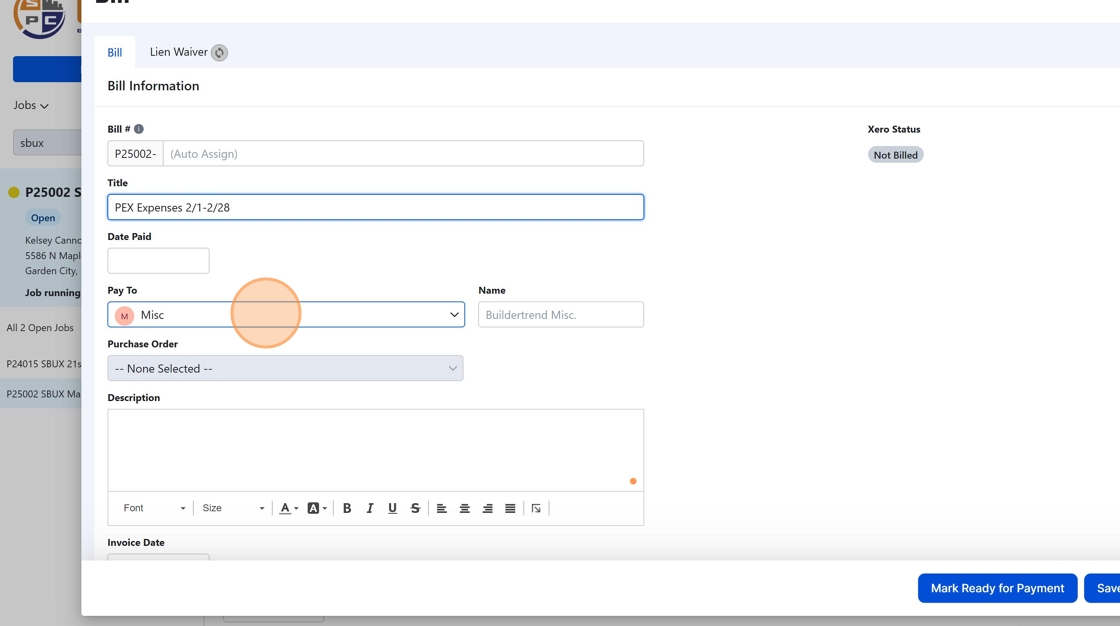
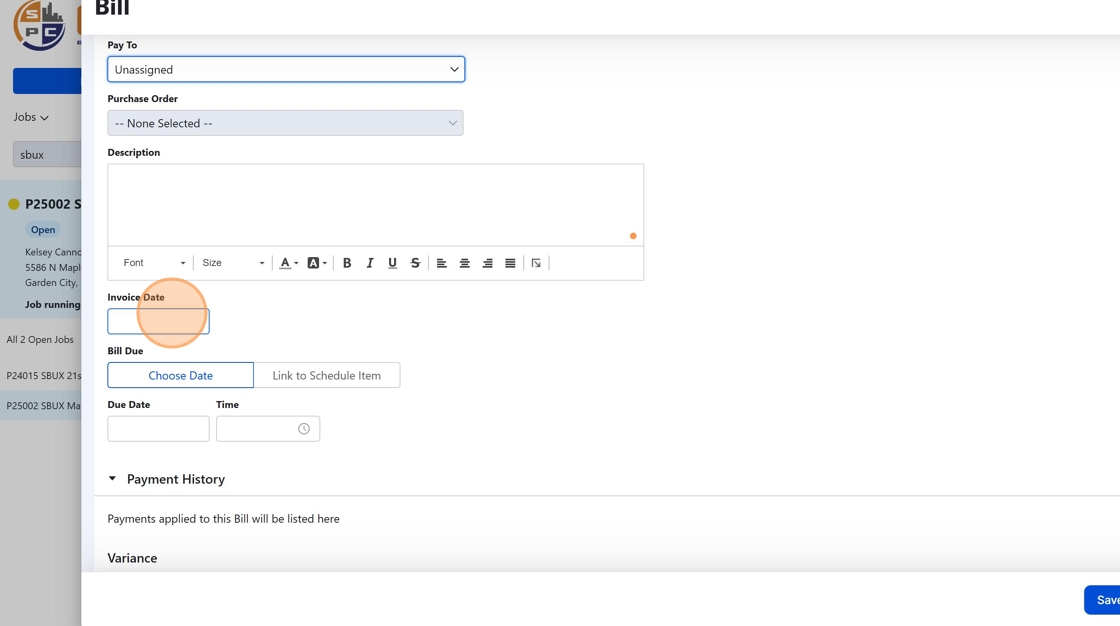
- Set Payment Status
Click the vendor assignment field. For PEX expenses, always select "unassigned."
- Set Invoice Dates
Click the date field and enter the first and last day of the month covered by the PEX expenses.
Adding Line Items
Careful Coding Required
Accurate cost code assignment is critical for project accounting. Always reference the Excel spreadsheet to ensure expenses are coded correctly.
- Add First Line Item
Click the "+ Add Line Item" button to add a new expense line. This is where you'll code individual expenses.

-
Enter Line Item Title
Click the title field and enter a descriptive title that matches the expense category from the Excel spreadsheet.

-
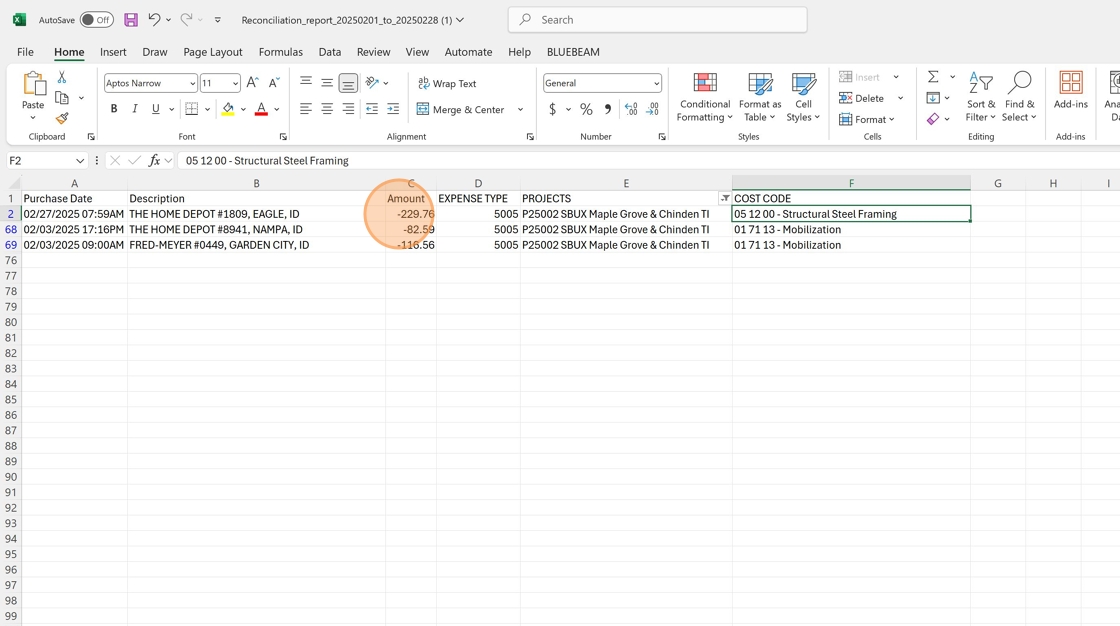
Reference Spreadsheet Data
Review the Excel spreadsheet to identify the appropriate cost code category. In this example, the first cost code is for framing.
-
Assign Cost Code
Click the cost code field and select the appropriate code. This must match exactly what is shown in the Excel CSV file.

-
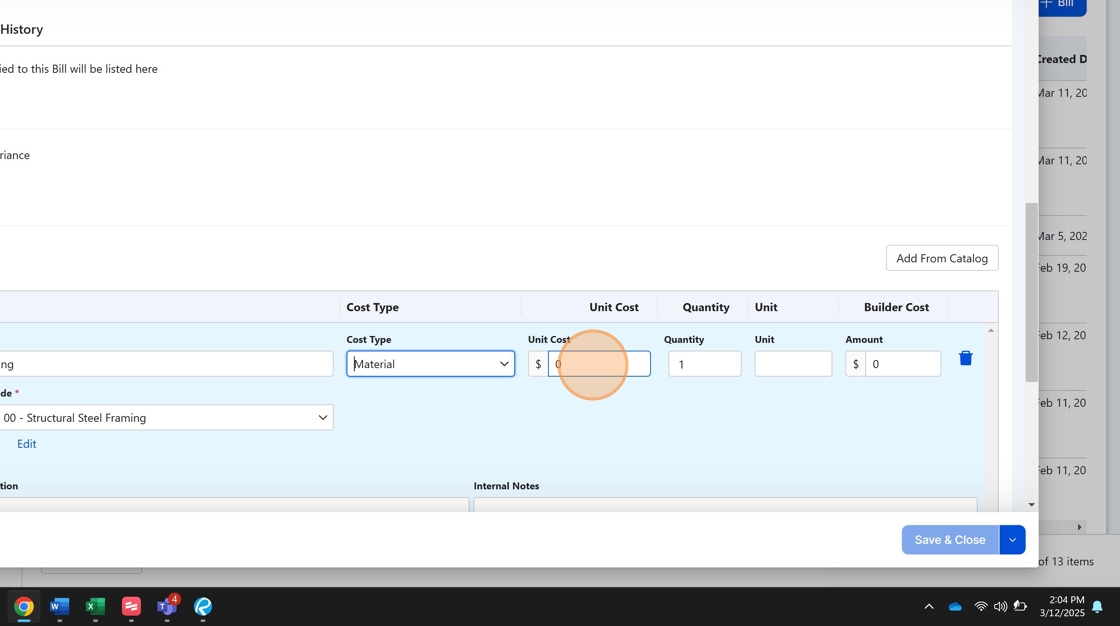
Select Cost Type
Click the cost type field and select the appropriate type. This will vary depending on the nature of the expense.

-
Enter Cost Amount
Click the cost field and enter the total dollar amount for all expenses in this cost code category.
-
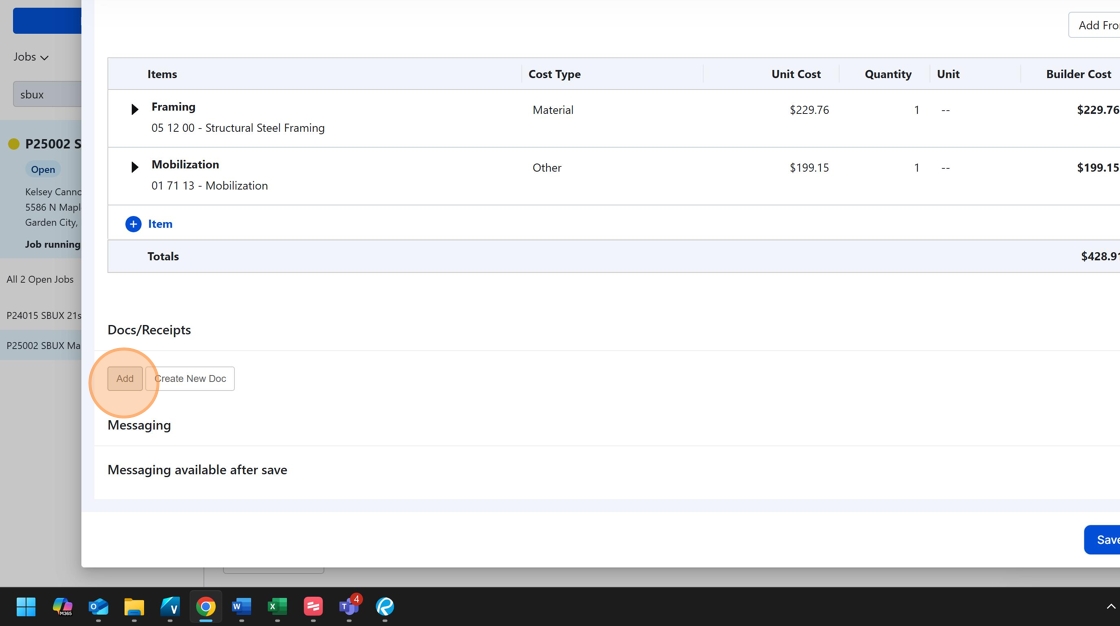
Add Additional Line Items
Click the "+ item" button to add another expense line. Repeat steps 10-14 for each expense category in the Excel spreadsheet.

Attaching Supporting Documentation
Documentation Requirement
Attaching the Xero PDF ensures all expense details are available for review and audit purposes.
-
Initiate Attachment Process
Click the "Add" button to begin attaching the Xero PDF file to the bill.
-
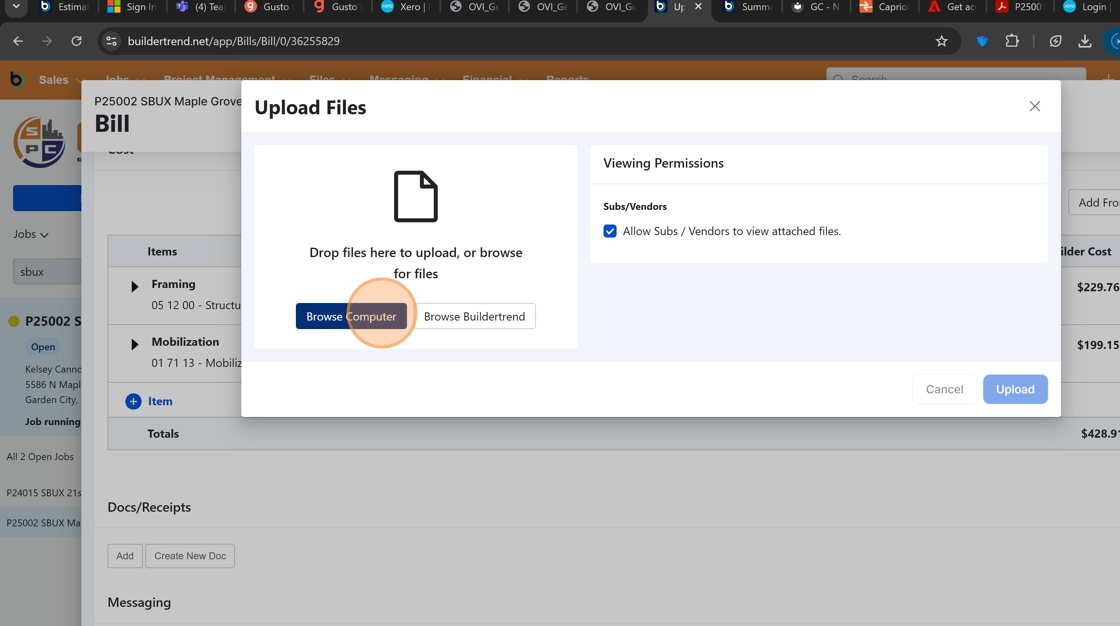
Select File Source
Click "Browse Computer" to locate the PDF file on your system.
-
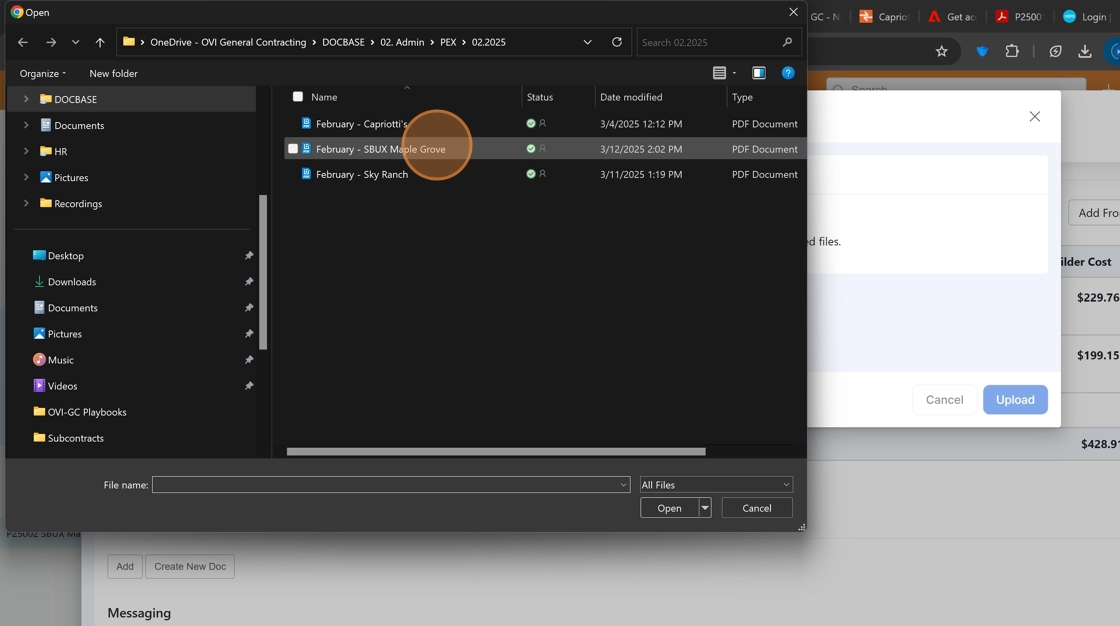
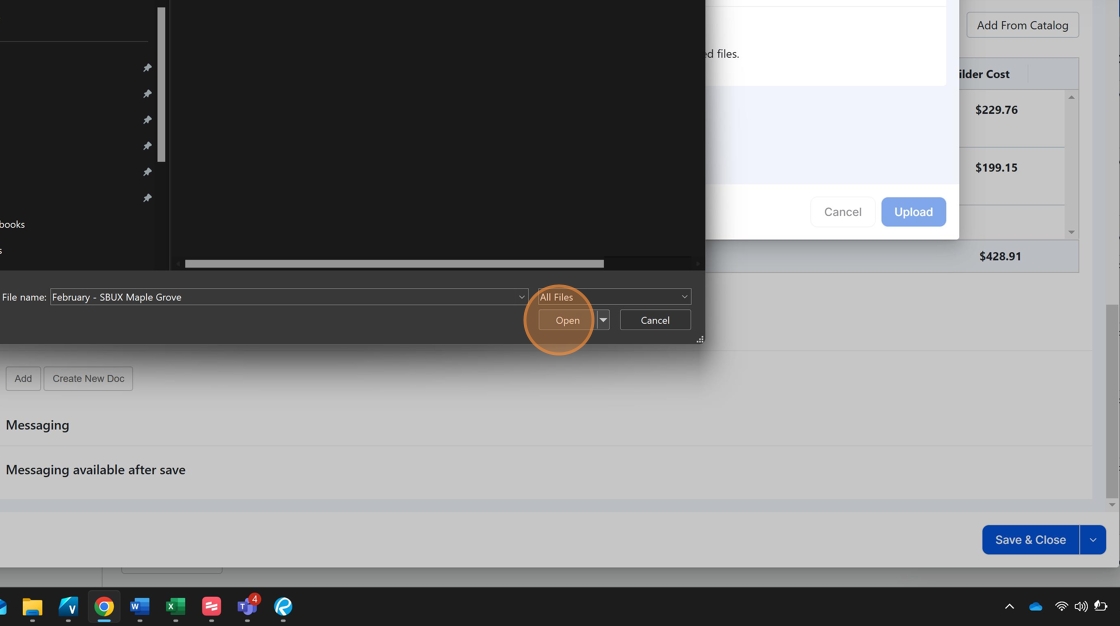
Locate the File
Navigate to the location where the Xero PDF is saved and select the file.
-
Confirm File Selection
Click "Open" to select the file.
-
Upload the File
Click "Upload" to attach the file to the bill.

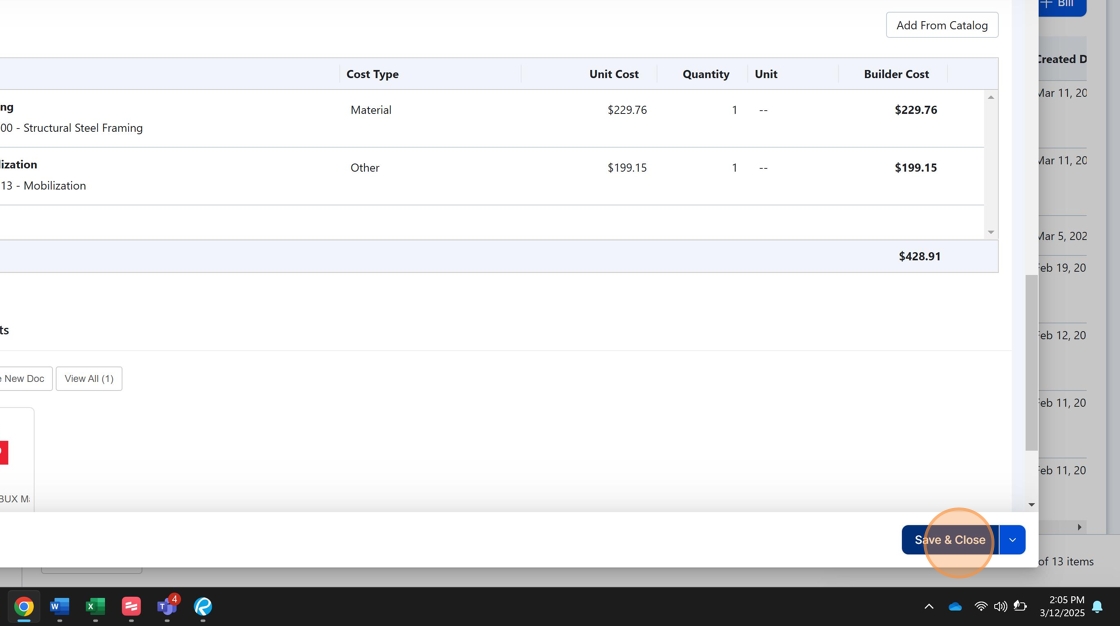
-
Save the Bill
Click "Save & Close" to complete the process and save the bill to the project.
Completion Checklist
Use this checklist to ensure you've completed all required steps:
- Navigated to the correct project
- Created a new bill with proper title format (PEX Expenses - MM/DD-MM/DD)
- Set vendor to "unassigned"
- Entered correct date range for the expense period
- Added line items for each expense category
- Assigned correct cost codes to each line item
- Selected appropriate cost types
- Entered accurate cost amounts
- Attached Xero PDF file
- Saved and closed the bill
Process Complete
Once all steps are completed successfully, the PEX expenses are now properly recorded in BuilderTrend and associated with the project for accurate financial reporting.
Process Flow Diagram
graph TD
    A[Start: PEX Expense Reconciliation] --> B[Navigate to Project]
    B --> C[Access Financial Section]
    C --> D[Open Bills Section]
    D --> E[Create New Bill]
    E --> F[Enter Bill Information]
    F --> G[Add Line Items]
    G --> H{More Expense Categories?}
    H -->|Yes| G
    H -->|No| I[Attach Xero PDF]
    I --> J[Save and Close]
    J --> K[End: PEX Expenses Recorded]
This procedure was originally created by Kelsey Cannon using Scribe.