PEX - Approving Transaction
Introduction
This procedure explains how to properly review, categorize, and approve transactions in the PEX dashboard. Ensuring transactions are properly categorized is essential for accurate financial reporting and job costing.
Prerequisites
- PEX dashboard access credentials
- Authorization to review and approve transactions
- Knowledge of appropriate expense categories
Procedure
Accessing Unapproved Transactions
- Log in to the PEX Dashboard
Navigate to the PEX card transactions page by accessing the URL: https://dashboard.pexcard.com/transactions/card-transactions
- Filter for Transactions Requiring Review
Click on the "Not Reviewed" filter to display all transactions that need attention.
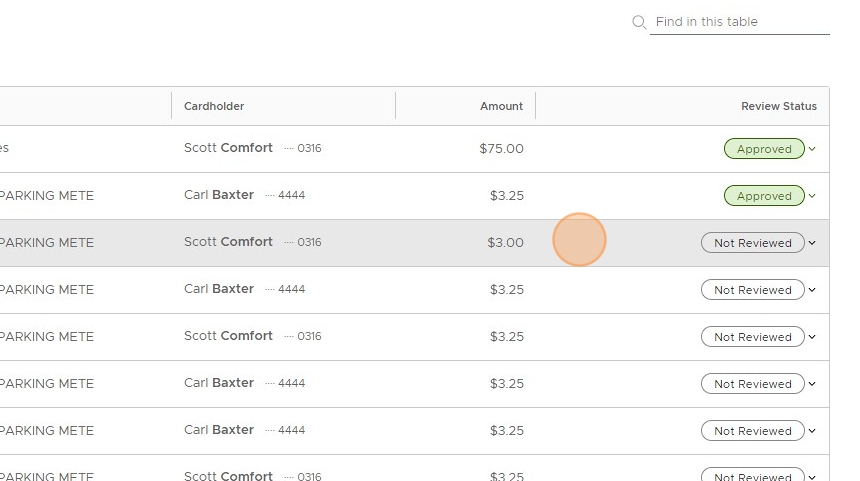
Note
The number beside "Not Reviewed" indicates how many transactions are pending review.
Editing Transaction Categories
- Open Transaction for Editing
For each transaction, click the "EDIT" button to begin the categorization process.

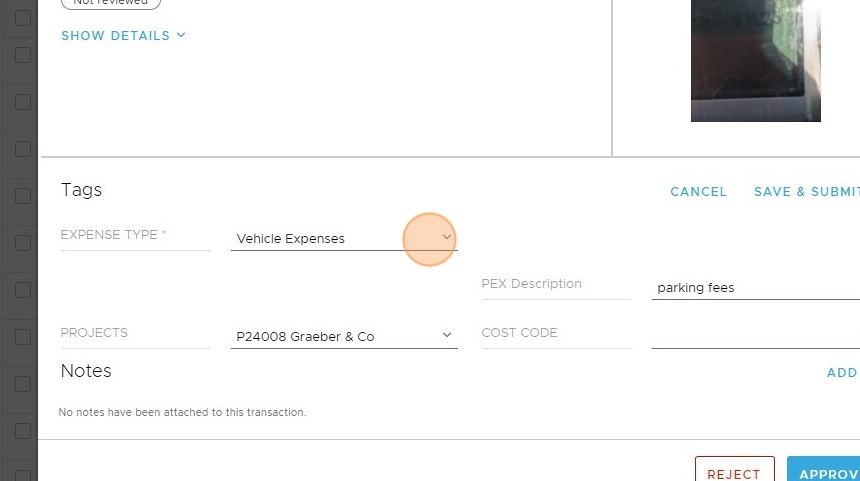
- Select the Expense Category
Click on the dropdown field to select the appropriate expense type for the transaction.
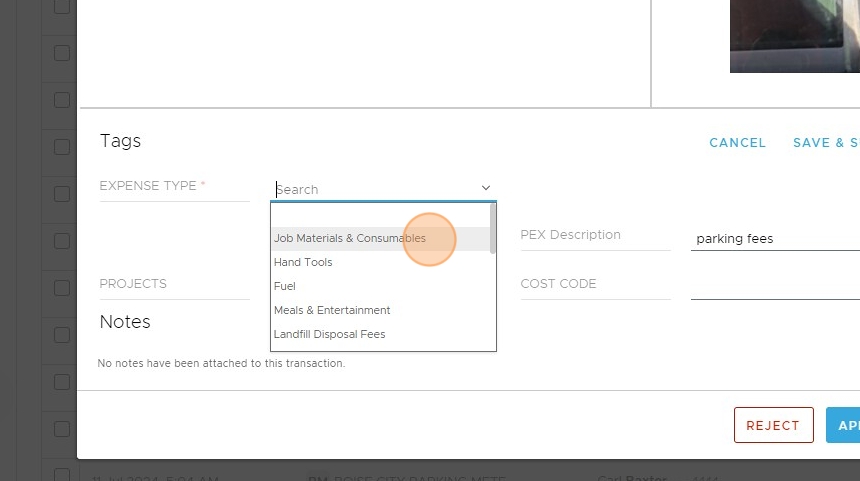
- Choose the Appropriate Category
Select the most relevant expense category from the dropdown list. In this example, "Job Materials & Consumables" is selected.
Tip
Choose the most specific category that applies to the transaction to ensure accurate financial reporting.
- Add Transaction Notes (Optional)
Click on the notes text field to add any additional information about the transaction if needed.

Info
Notes can include important details such as job numbers, project names, or explanation of unusual expenses.
Submitting and Approving Transactions
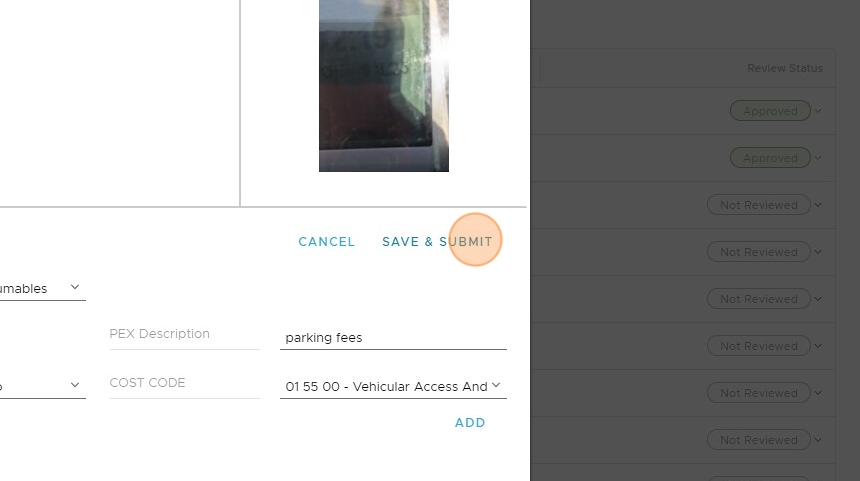
- Save and Submit the Transaction
After categorizing the transaction, click the "SAVE & SUBMIT" button to record your changes.
- Final Approval of the Transaction
After reviewing the transaction details one final time, click the "APPROVE" button to complete the process.
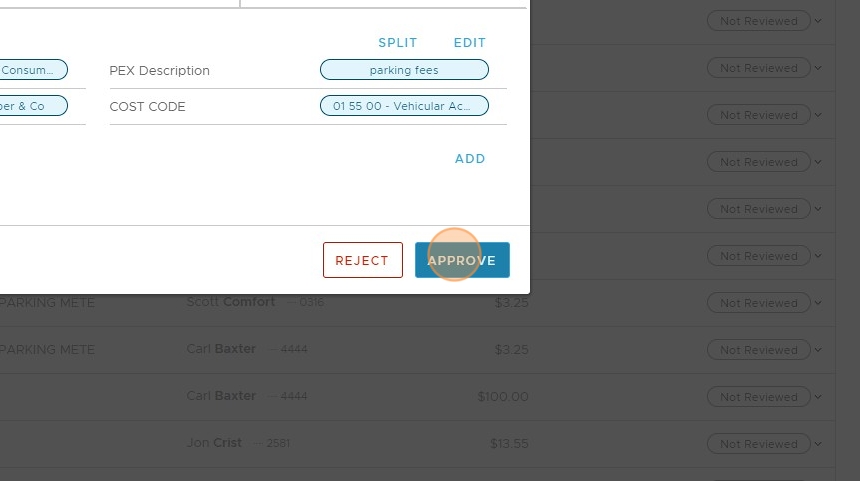
Warning
Once a transaction is approved, it will be processed according to the selected category. Double-check your categorization before approval.
Common Categories and Their Usage
Here's a quick reference for commonly used expense categories:
| Category | Use Case |
|---|---|
| Job Materials & Consumables | Materials directly used for specific jobs/projects |
| Office Supplies | General office supplies not tied to specific jobs |
| Fuel | Vehicle fuel expenses |
| Meals & Entertainment | Business meals, client meetings |
| Travel | Business travel expenses including hotels, flights, etc. |
Troubleshooting
If you can't find a transaction that should be visible: - Check different date ranges - Verify the transaction has been processed by the vendor - Contact PEX support if the transaction is still missing
If you've approved a transaction with the wrong category: - Contact your finance department immediately - Note the transaction ID and correct category - Document the reason for the misclassification
Checklist
- Log in to PEX dashboard
- Filter for "Not Reviewed" transactions
- Select appropriate expense category for each transaction
- Add notes if necessary for clarification
- Save and submit the transaction
- Final approval of the transaction
- Verify all pending transactions have been processed
Process Complete
Once all transactions have been properly categorized and approved, the process is complete. Always check back regularly as new transactions may appear in the system.