PEX - Activating Expense Types
Introduction
This guide walks through the process of activating and configuring expense types in the PEX system. Properly configured expense types are essential for accurate transaction categorization and financial reporting.
What Are Expense Types?
Expense types in PEX allow you to categorize and track different types of expenses. This helps with reporting, accounting integration, and budget management.
Required Access
- PEX administrator account
- Permission to modify business settings
Procedure
- Log in to PEX and Navigate to Business Settings
From the PEX dashboard, locate and click the "Business settings" option.

Navigation Tip
Business settings can typically be found in the main navigation menu or under your account profile options.
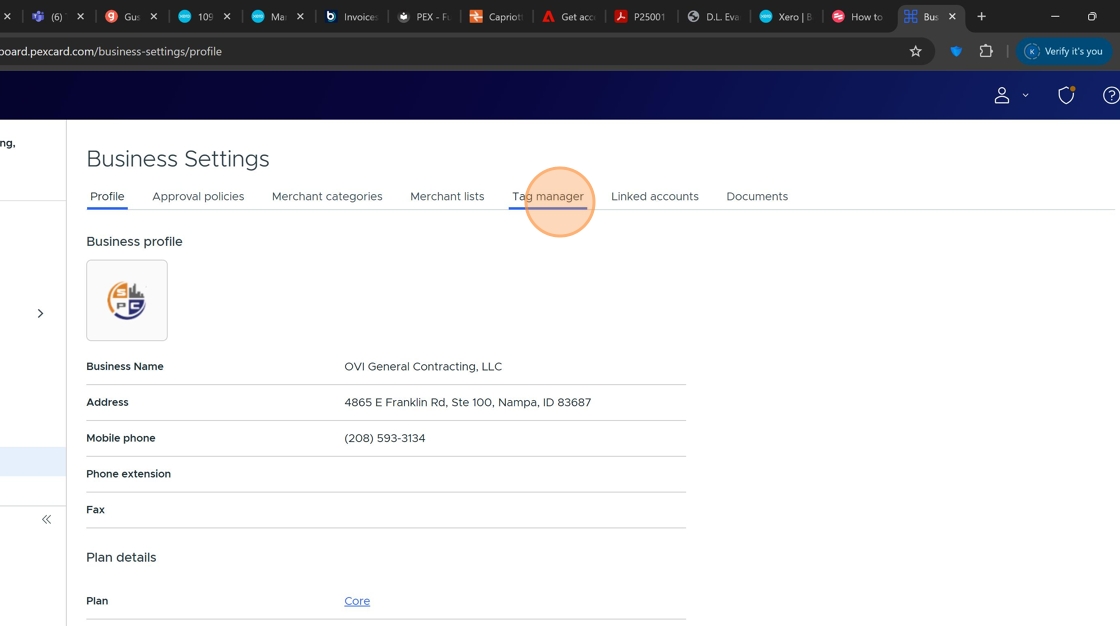
- Access Tag Manager
Within the Business settings page, find and click on the "Tag manager" option.
- Edit Expense Type Settings
In the Tag manager page, locate the "Expense Type" row and click the pencil icon to edit these settings.

- Enable Required Expense Types
Review the list of available expense types and enable all those applicable to your organization.

Standard Expense Types
OVI-GC typically uses the following standard expense types:
- General Expenses
- Fuel
- Job Materials & Consumables
- Hand Tools
- Meals & Entertainment
- Vehicle Expenses
- Software & Service Fees
- Save Your Changes
After selecting all appropriate expense types, click the "Update" button to save your changes.

What Happens Next
Once expense types are activated, they become available when entering or categorizing transactions in PEX. This enables:
- More detailed financial reporting
- Better expense tracking across the organization
- Improved integration with accounting systems like Xero
Completion
After completing these steps, expense types will be immediately available for use in your PEX account.
Checklist
- Log in to PEX
- Navigate to Business settings
- Access Tag manager
- Edit Expense Type settings
- Enable appropriate expense types
- Save changes
Related Articles
- PEX - Approving Transactions
- PEX - Sync to Xero
- PEX - Transaction Export