XERO - HubDoc Receipt Upload & Reconciliation
Introduction
This guide walks through the process of uploading invoices or receipts to HubDoc and then reconciling them in Xero. This streamlines your accounting workflow by automatically matching documents to transactions, reducing manual data entry and potential errors.
Process Overview
This procedure involves two main steps: (1) uploading and publishing the document in HubDoc, and (2) reconciling the transaction in Xero.
Procedure
- Access HubDoc Through Xero and Initiate Upload
Begin by logging into HubDoc via your Xero account and navigating to the document upload area.

Click the "Upload Document" button in the top-right corner to begin the upload process.
- Select Document for Upload
You can either browse your files by clicking the "Browse" button or simply drag and drop the invoice/receipt files directly onto the upload area.

Accepted File Types
HubDoc accepts PDF, JPG, PNG and other common image formats. For best results, ensure your documents are clear and well-lit.
- Close the Upload Dialog
After your file has been uploaded, click the "Close" button to return to the main HubDoc interface.

- Access the Uploaded Document
Locate and click on the newly uploaded receipt or invoice to view and edit its details.

The document will open in the HubDoc editor where you can verify and adjust its details.
- Set Document Type
Click on the "Document type" dropdown and select "invoice" to properly categorize the document.

Document Classification
Proper document classification ensures the item will be processed correctly in your accounting workflow.
- Mark as Paid for Receipts
If you're processing a receipt (which indicates payment has already been made), click the checkbox to mark it as paid.
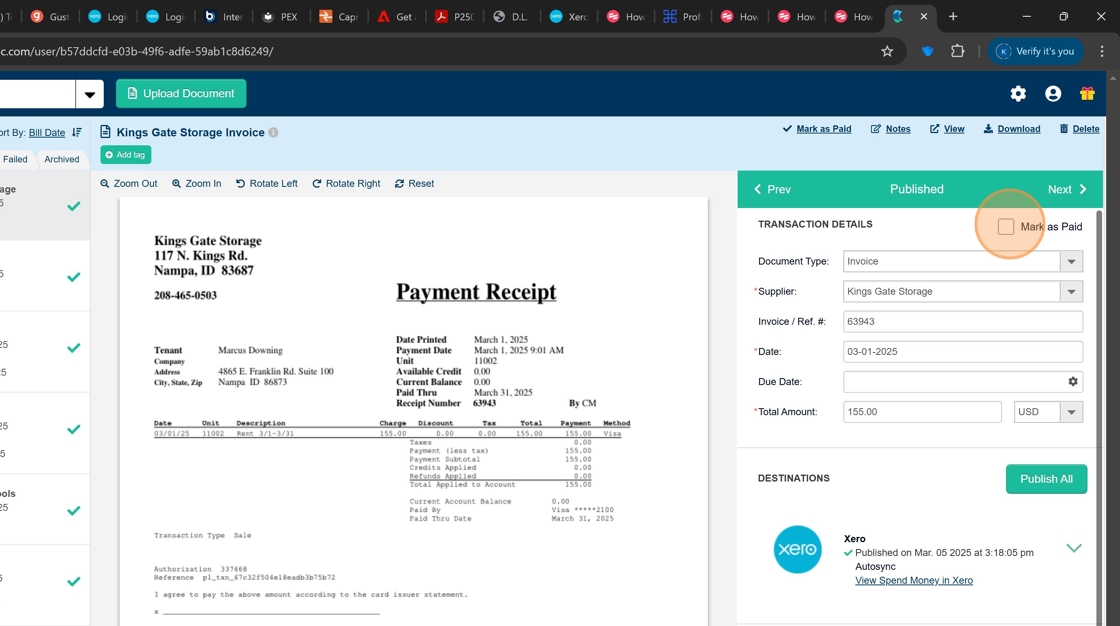
Important Distinction
Only mark documents as paid if they are receipts showing completed transactions. Invoices awaiting payment should not be marked as paid.
- Publish the Document
Once you've verified all details are correct, click the "Publish All" button to finalize and send the document to Xero.
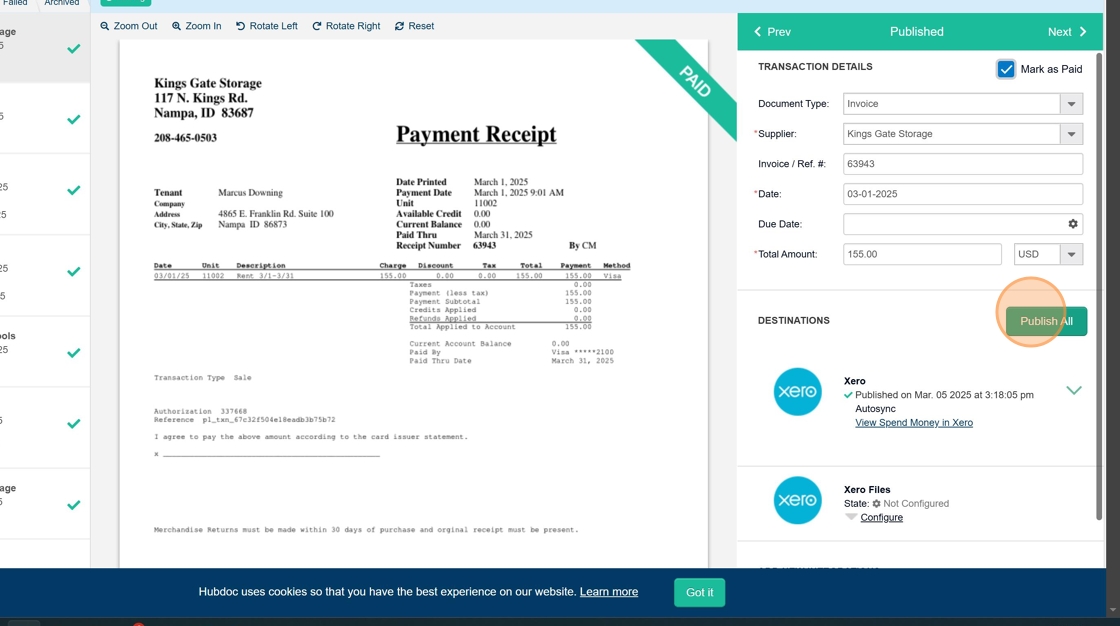
Publishing sends the document data to Xero where it can be matched with corresponding transactions.
- Return to Xero
Navigate back to Xero to complete the reconciliation process.

- Reconcile the Transaction in Xero
Refresh your screen to allow Xero to match the uploaded document with the corresponding transaction. Once matched, locate the transaction and click "OK" to complete the reconciliation.
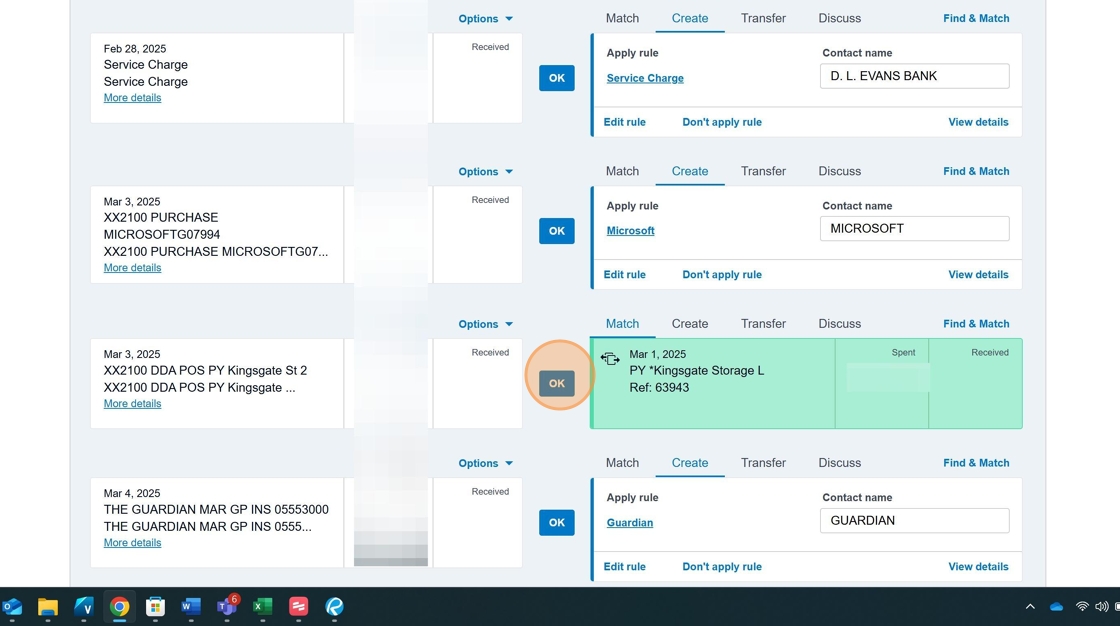
Process Complete
Once reconciled, the transaction is marked as complete, and the document is attached to the transaction record in Xero for future reference.
Checklist
- Log into HubDoc through Xero
- Upload the invoice or receipt document
- Select the correct document type
- Mark as paid if it's a receipt
- Publish the document to Xero
- Navigate back to Xero
- Refresh the screen to match the transaction
- Reconcile the transaction by clicking "OK"
Related Processes
This process connects with other Xero workflows such as bank reconciliation and financial reporting. Proper document management in HubDoc ensures accurate financial records in Xero.