Importing DL Evans OFX Statements to Xero
Introduction
This guide provides detailed instructions for uploading DL Evans bank statements in OFX format to Xero accounting software. Following this procedure ensures accurate financial record-keeping and streamlines the reconciliation process.
Prerequisites
Before beginning this procedure, you should have:
- Downloaded the OFX statement file from DL Evans Bank
- Access to Xero with appropriate permissions
Procedure
- Access Xero Account Options
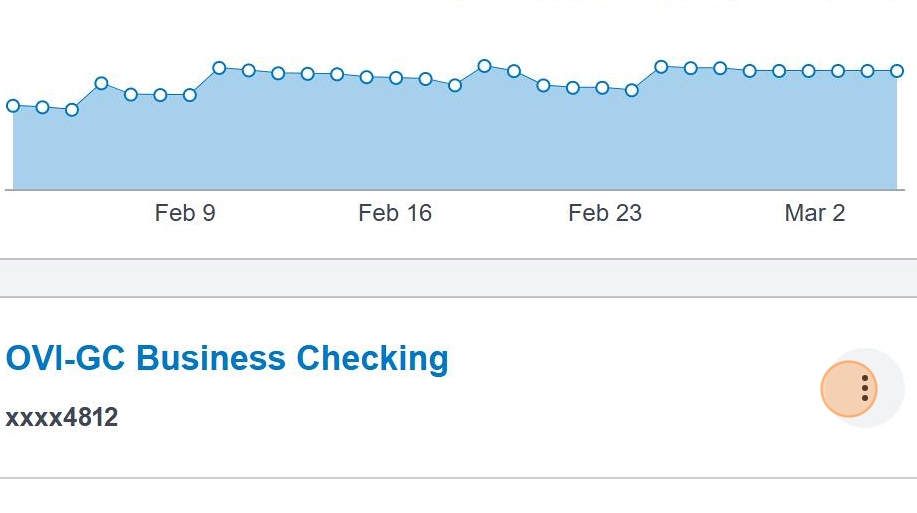
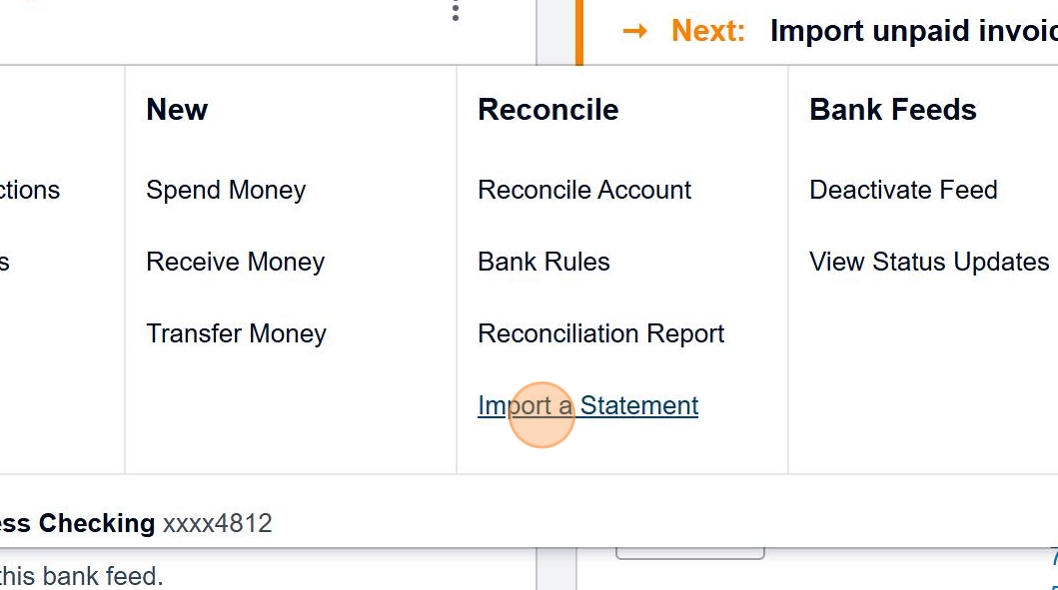
Login to Xero, locate the OVI-GC Business checking account on the dashboard and click on the 3 stacked dots to the right.
- Select Import Statement Option
Click "Import a Statement" under "Reconcile" in the dropdown menu.
- Upload the OFX File
Upload the previously downloaded .ofx file using the file uploader interface.
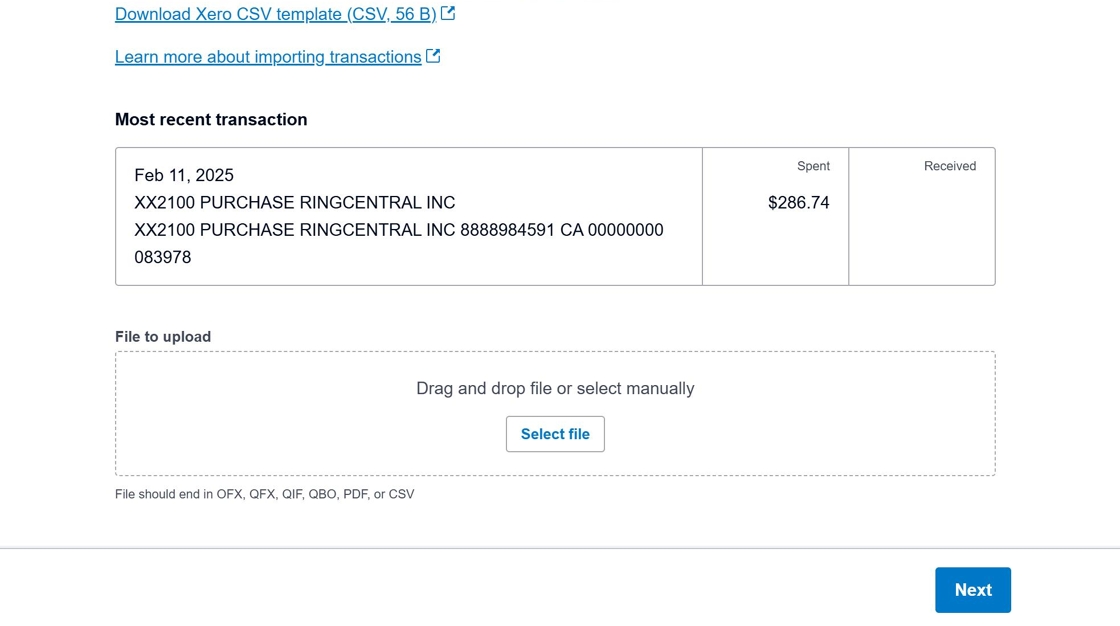
File Selection
You can either drag and drop the file into the upload area or click to browse and select it from your computer.
- Confirm Upload and Proceed
Once the file is uploaded, click "Next" to proceed.

- Complete the Import Process
Click "Complete import" to finalize the statement import to Xero.
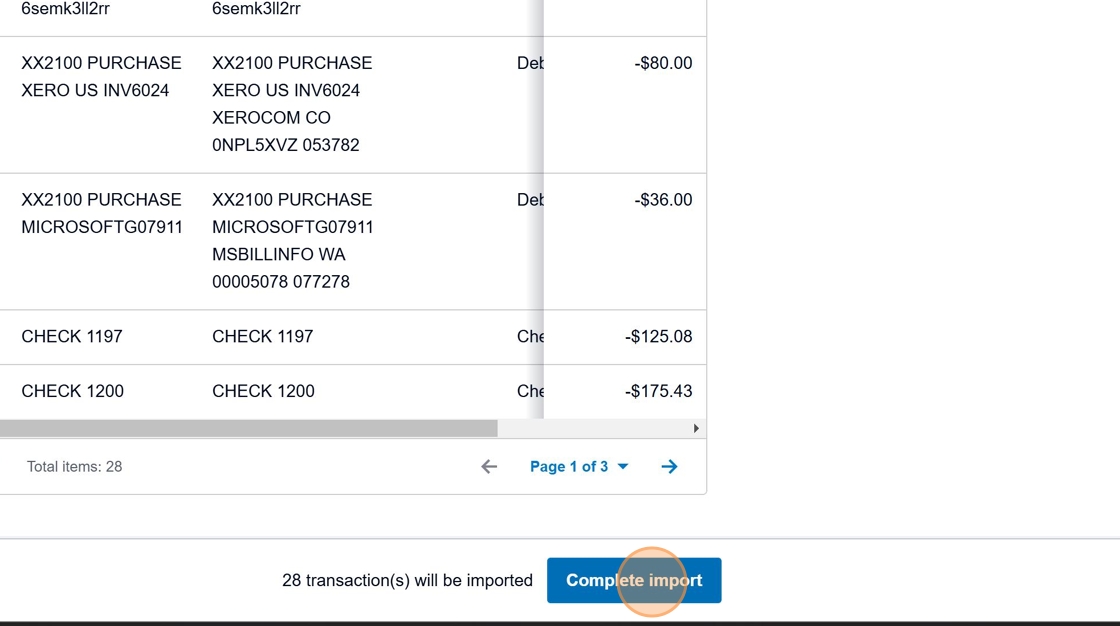
Import Confirmation
The statement has now been successfully imported into Xero and is ready for reconciliation.
Checklist
- Login to Xero
- Access OVI-GC Business checking account options
- Select "Import a Statement" option
- Upload the OFX file
- Confirm and complete the import process
Related Procedures
After importing the statement, you may want to proceed with reconciling transactions. Refer to the related guide on transaction reconciliation in Xero.
graph TD
    A[Login to Xero] --> B[Access Account Options]
    B --> C[Import Statement]
    C --> D[Upload OFX File]
    D --> E[Confirm Upload]
    E --> F[Complete Import]
    F --> G[Ready for Reconciliation]