Creating a Budget in Buildertrend
Overview
This guide explains the complete process for entering a new budget into Buildertrend. Properly setting up your budget is a critical step in project setup that enables accurate financial tracking, subcontractor management, and billing throughout the project lifecycle.
Budget Purpose
The budget serves as the Schedule of Values (SOV) for your project and forms the foundation for all financial tracking in Buildertrend.
Step-by-Step Budget Creation Process
Setting Up Budget Divisions
- Create a New Division
Click "Add Group" to add a new "Division." Each division serves as a category in your Schedule of Values (SOV).
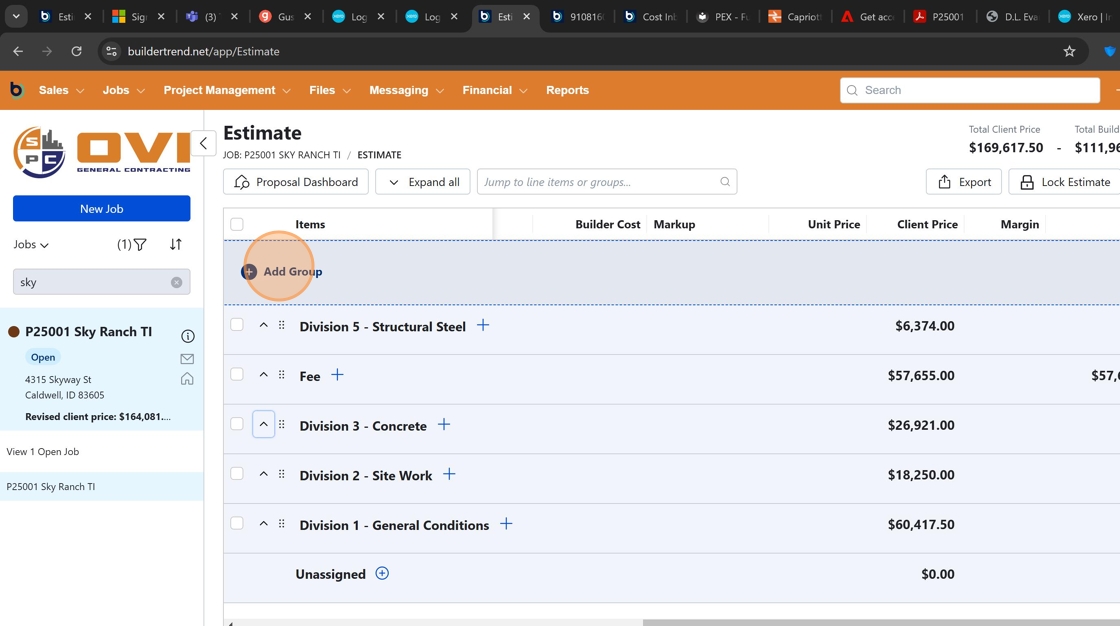
- Name the Division
Add a descriptive Division Title under "Group Title" that clearly identifies the category of work.

Adding Phase Codes and Line Items
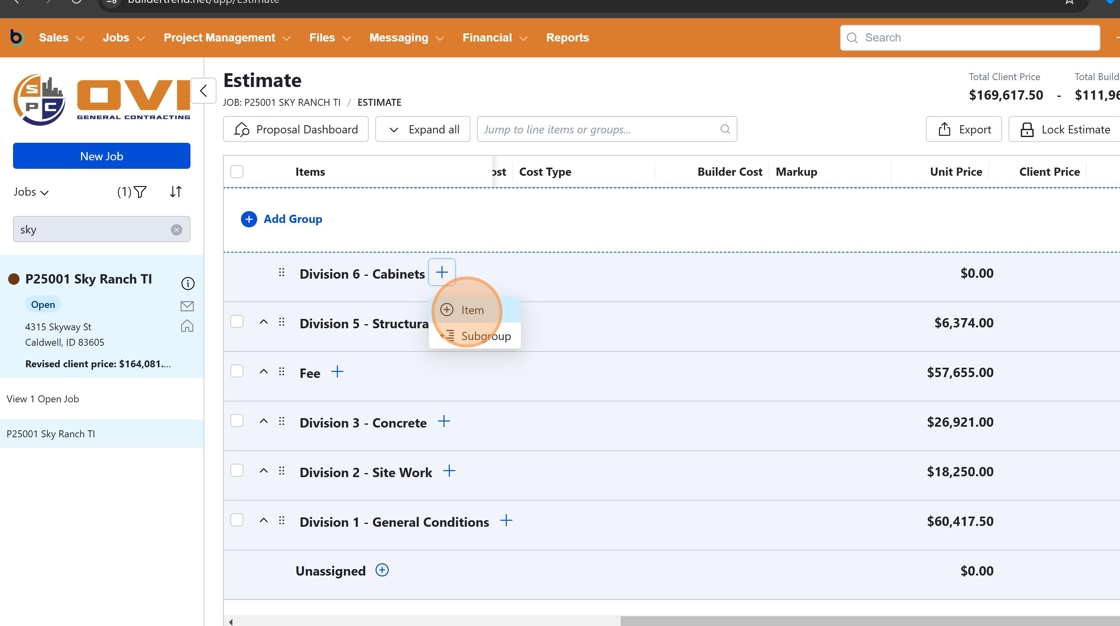
- Add a Phase Code
Click the "+" button to add a phase code within that division. Phase codes help further organize your budget items.

- Add a Budget Item
Click "+ Item" to create a new line item in your budget.
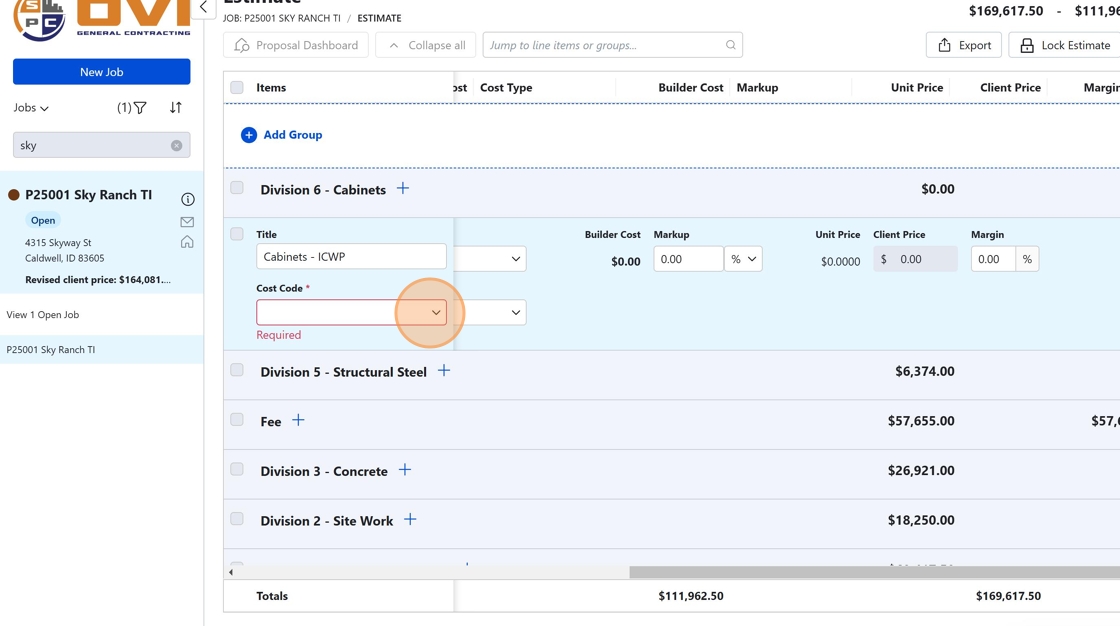
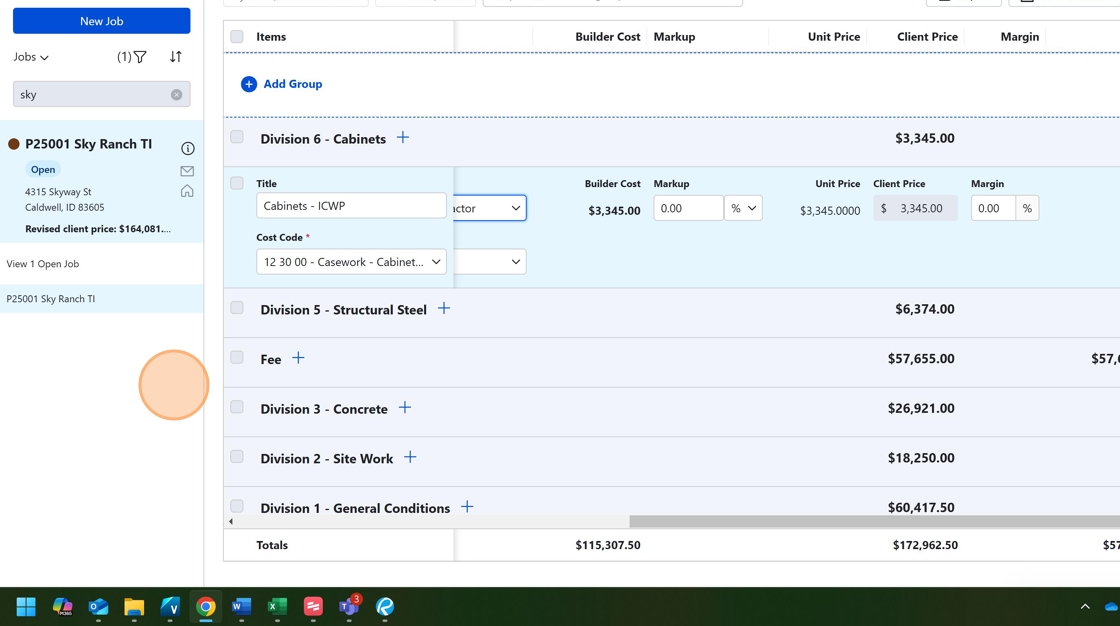
- Create a Line Item Title
Click the title field to add a descriptive name for your budget item.
Naming Convention
Use consistent naming formats:
• For subcontractor items: "Scope - Sub Name" (e.g., "Cabinets - Idaho Custom Wood Products")
• For items without a subcontractor: Just enter the scope title
• For buyout money: "Scope - Other"

- Assign a Cost Code
Click the dropdown to assign the appropriate cost code. You can search for the code by number or description.
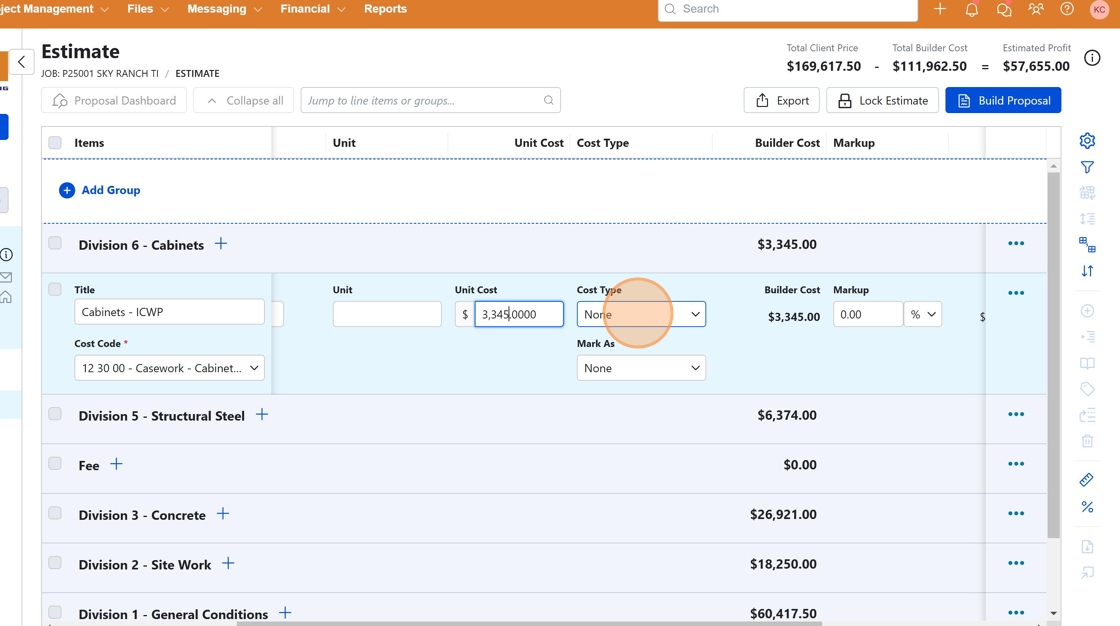
- Enter the Unit Cost
Click in the unit cost field to add the dollar amount for this budget item. For subcontracts, this should be the contract amount. For other line items, enter the total budgeted amount.

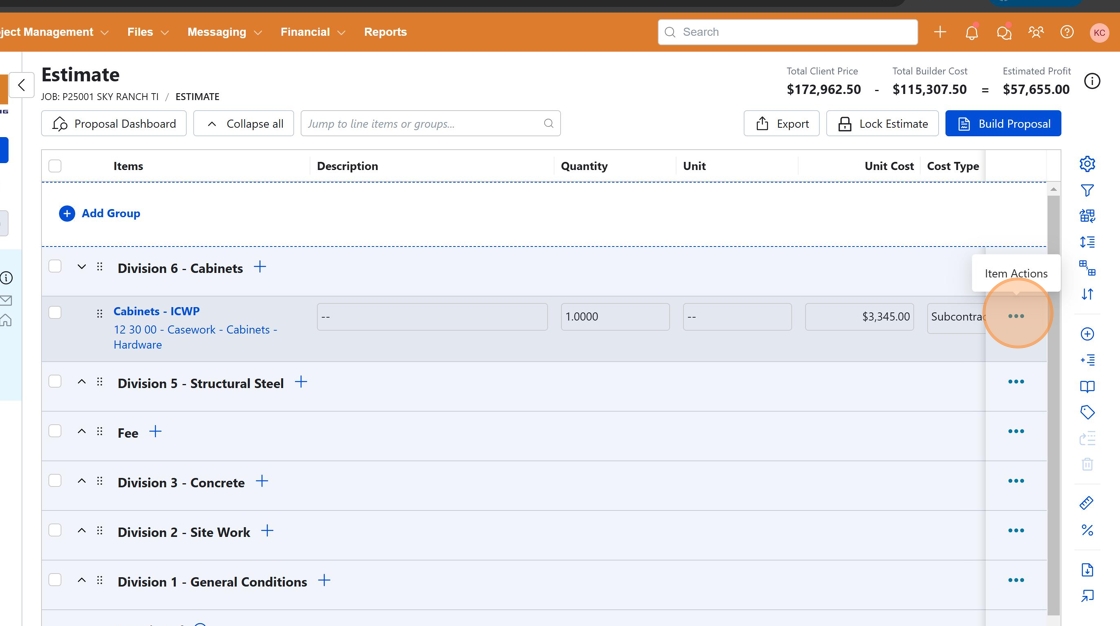
- Select the Cost Type
Click to assign the appropriate cost type from the dropdown. This categorizes the budget item by type of expense.
Cost Type Guidelines
• Subcontract work: Select "Subcontractor"
• Buyout items: Select "Other"
• General conditions: Select "Other"
• OVI self-performed work: Select "Labor"
- Save the Line Item
Click anywhere outside of the line item to save it and add it to your budget.
Linking Subcontractors to Budget Items
-
Access Subcontractor Options
Click the "..." menu to assign this line item to a subcontractor. This step is only necessary for items coded as "Subcontractor" cost type.
Subcontractor Tracking
Linking subcontractors to budget items enables the system to track change orders and progress billings through the project lifecycle.
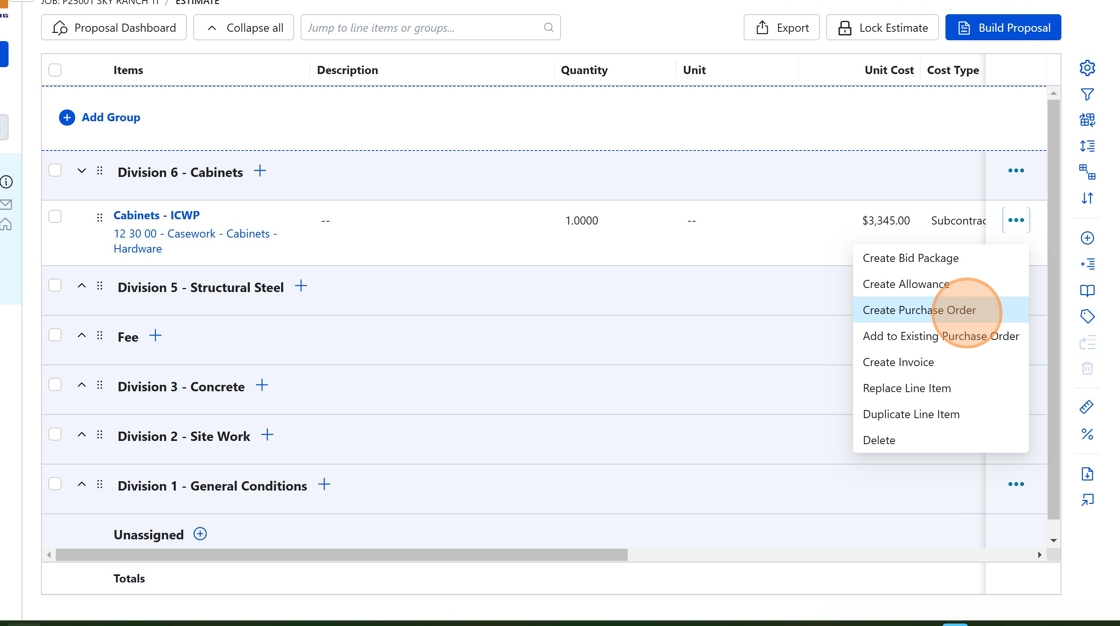
-
Create a Purchase Order
Click "Create Purchase Order" to begin linking the budget item to a subcontractor.
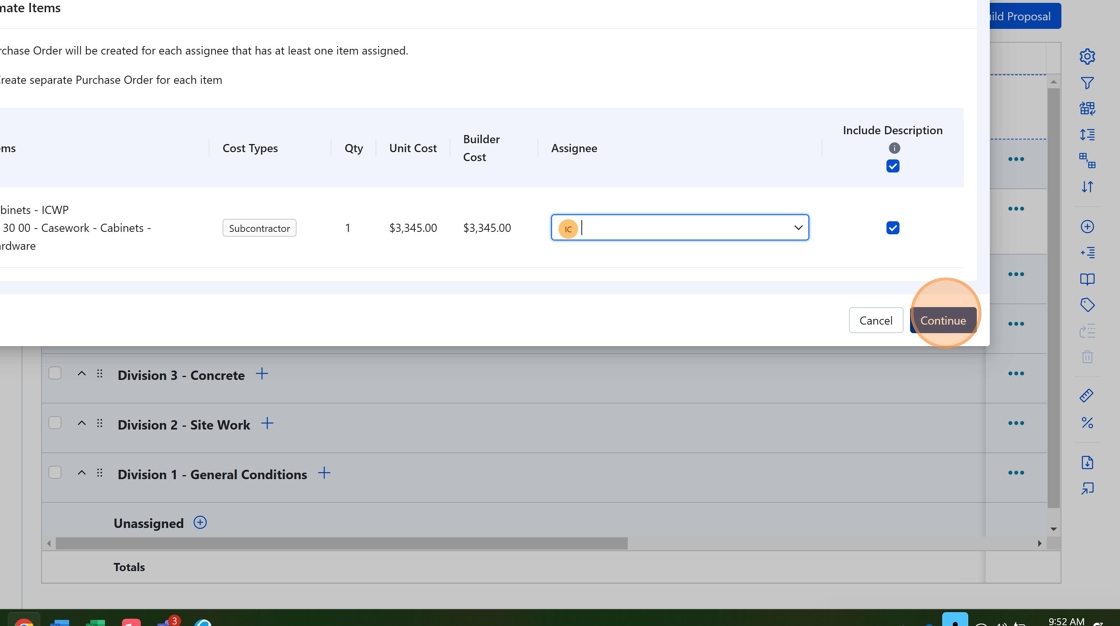
-
Select the Subcontractor
Click the dropdown to assign the appropriate subcontractor from the list.

-
Continue the Process
Click "Continue" once you've selected the subcontractor to proceed with the purchase order creation.
-
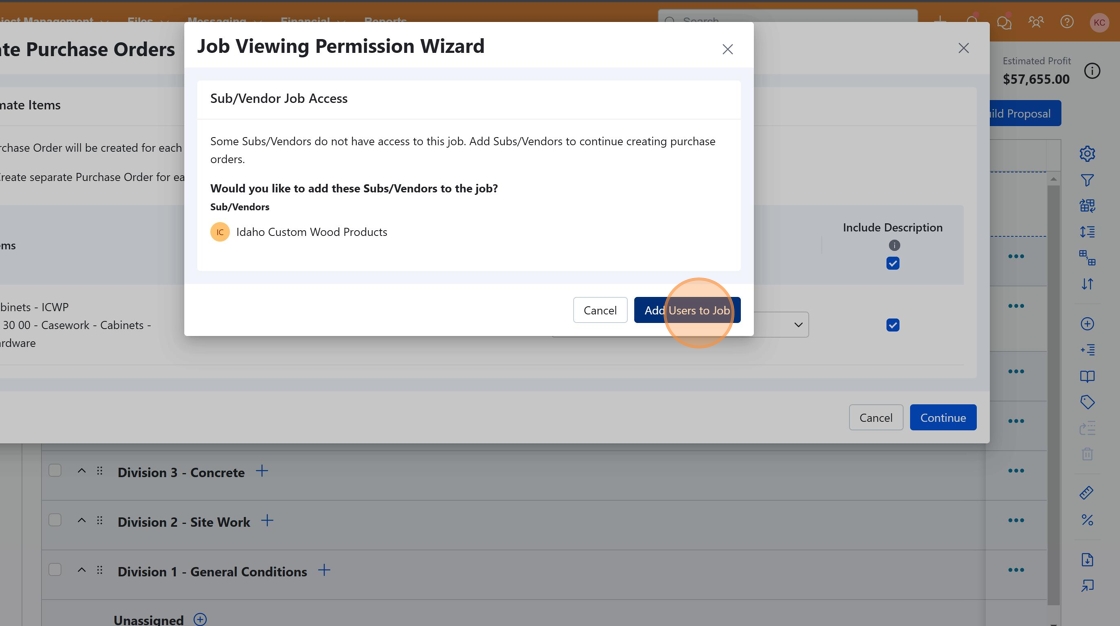
Add Users to the Job
Click "Add Users to Job" to specify which team members should have access to this subcontractor information.
-
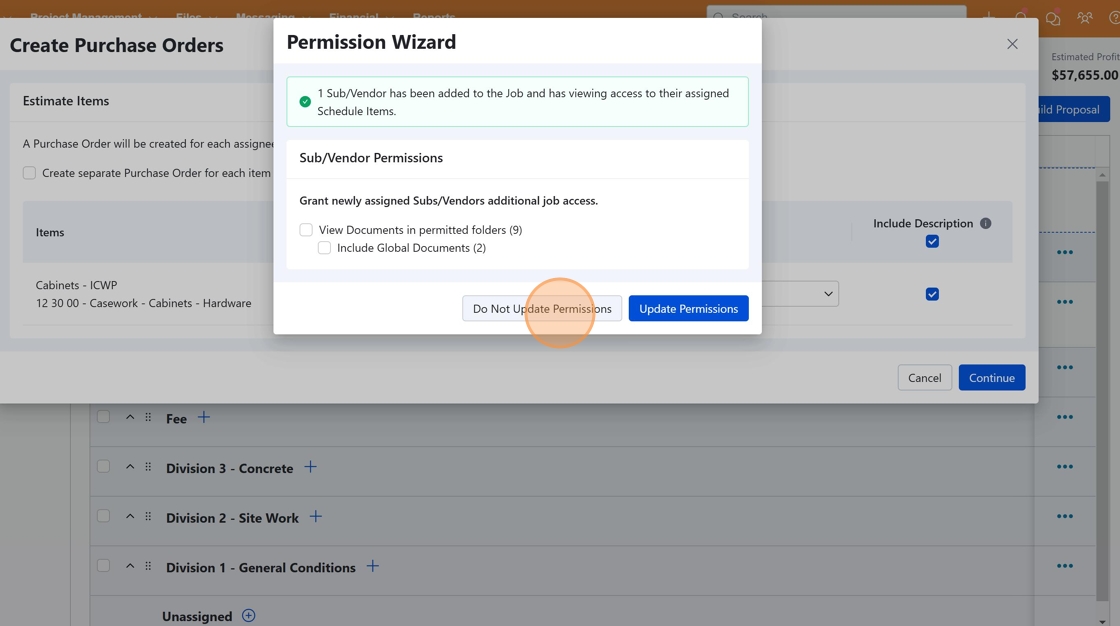
Set Permissions
Click "Do not update permissions" if you want to maintain existing permission settings.
-
Complete the Purchase Order
Click "Finish" to complete the purchase order creation process.

-
Close the Dialog and Finalize
Click "X" to close the dialog. The line item is now added to the budget and linked to the subcontractor.
Important Final Step
Once all budget line items have been added and configured, click "Lock Budget" at the top of the screen to finalize the budget and prevent unintended changes.

Budget Creation Checklist
Use this checklist to ensure you've completed all necessary steps in the budget creation process:
- Created all required divisions (SOV categories)
- Added phase codes within each division
- Created detailed line items with appropriate titles
- Assigned correct cost codes to each line item
- Entered accurate unit costs for all budget items
- Selected the appropriate cost types for each item
- Linked subcontractors to relevant budget items
- Created purchase orders for all subcontractor items
- Added appropriate users to each subcontractor job
- Locked the budget after all items are entered
Budget Complete
Once you've checked off all items above, your budget is fully set up in Buildertrend and ready to support project financial tracking and subcontractor management.